I recently got the opportunity to become one of the few SME’s for the VMC on AWS service offering in the Netherlands. Because of this, I have decided to create some blog articles on this topic. So let’s start off with my first blog article on the topic, which will be a step-by-step on how to configure HCX between my home lab (on-premise) and an SDDC within the VMC on AWS service (off-premise).
Goals
The primary goal of this article is to show you how to install and configure HCX between my home lab and VMC on AWS. The secondary goal is to test the migration by doing a cold migration. With “cold” I mean that the Virtual Machine that is migrated will be turned off.
VMC on AWS side installation and configuration steps
First, we log in to the VMC on AWS console.
Click on the “VMware Cloud on AWS” service to get access to the SDDC’s where you have access to.
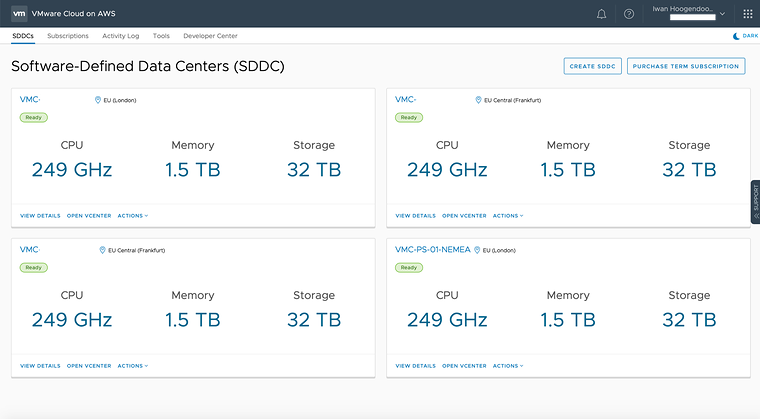
You will see the SDDC’s where you have access to and you need to select the SDDC where you want to enable HCX on.
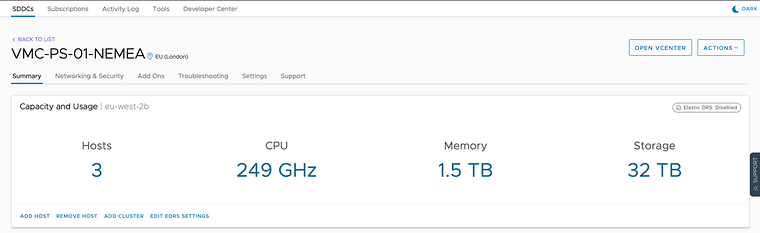
Click on the “add ons” button.
Click on the “Open HCX” button inside the HCX add on.
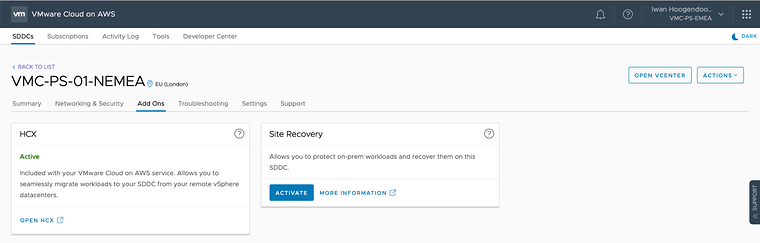
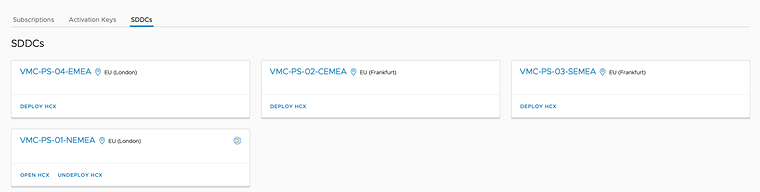
Click on “Deploy HCX” for the SDDC you want to enable HCX on. Once you have done this the “Open HCX” button will appear. It will take more than an hour before everything is deployed on the VMC on AWS side.
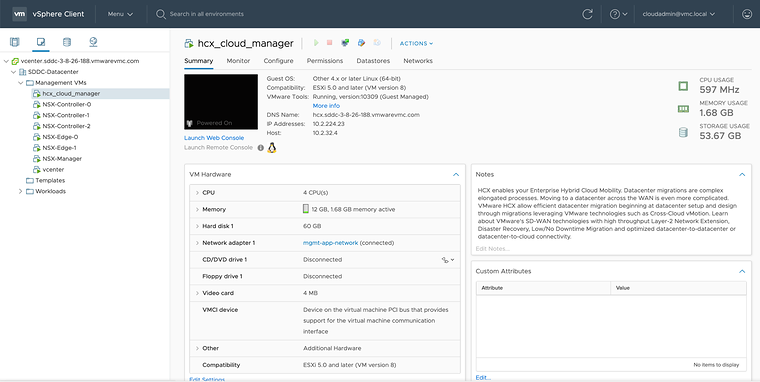
In the background the “hcx_cloud_manager” VM will be deployed in the Management cluster.
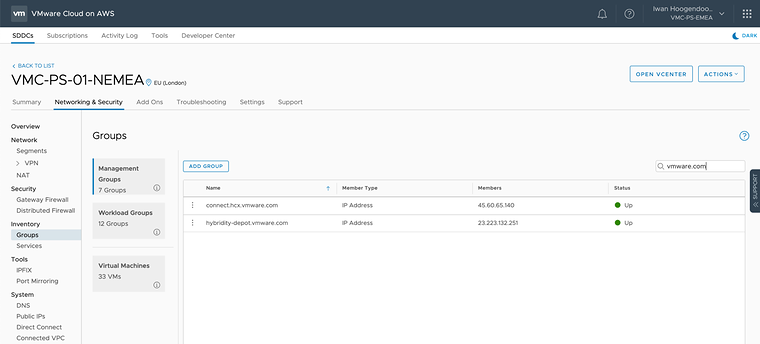
Before we can access the HCX manager on the VMC on AWS side we first need to create some firewall rules on Management Gateway of your SDDC. First, we need to add two groups in the “Management Groups” section.
| Section | Name | Member Type | Members |
|---|---|---|---|
| Management Groups | connect.hcx.vmware.com | IP address | 45.600.65.140 |
| Management Groups | hybridity-depot.vmware.com | IP address | 23.223.132.251 |
The IP addresses may be different for you, but just do a ping to the FQDN name and use that IP address that it resolved to.
When the groups are created using the groups in a rule that you will create to allow connectivity from the HCX Manager towards these two “update and activation” servers of VMware. This rule is to make sure the HCX Manager can reach VMware for patches and updates.
| Name | Source | Destination | Services | Action |
|---|---|---|---|---|
| HCX Manager to Activation Server | HCX | connect.hcx.vmware.com + hybridity-depot.vmware.com | Any | Allow |
Also, create another rule that makes sure that you can access the HCX Management page.
| Name | Source | Destination | Services | Action |
|---|---|---|---|---|
| Allow inbound to HCX Manager | Any | HCX | HTTPS (TCP 443) | Allow |
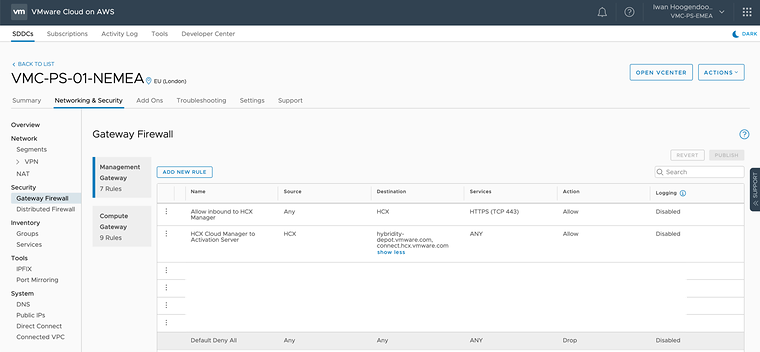
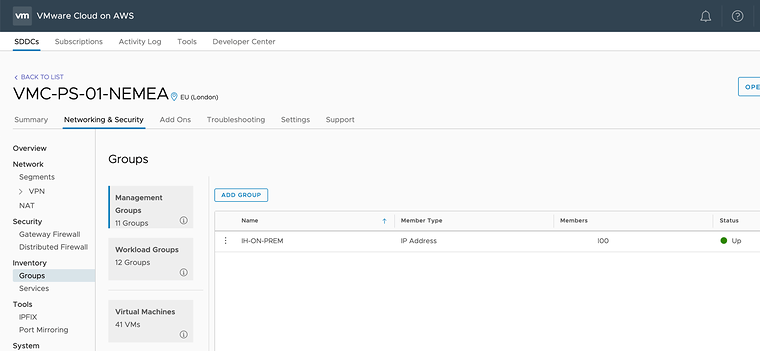
To enable access from your home-lab HCX manager towards the VMC on AWS HCX manager we also need to have an additional firewall rule. First, create a group with the PUBLIC IP address of your home lab.
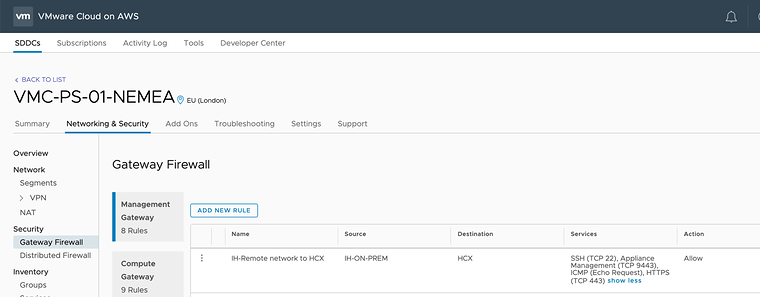
Then create the rule that will use the group.
| Name | Source | Destination | Services | Action |
|---|---|---|---|---|
| IH-Remote network to HCX | IH-ON-PREM | HCX | HTTPS (TCP 443) + SSH (TCP 22) + ICMP (Echo Request) + Appliance Management (TCP 9443) | Allow |
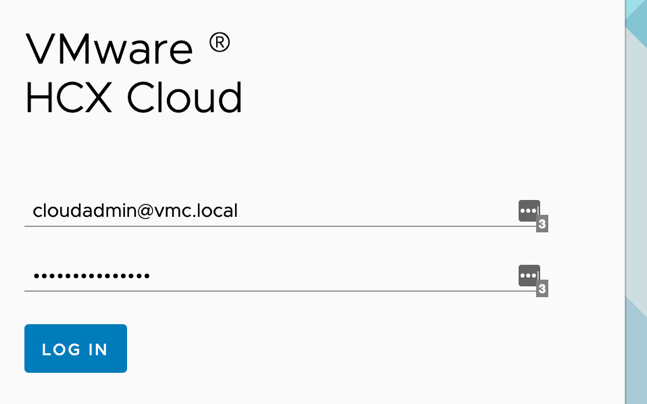
Let’s browse to the HCX Manager (VMC on AWS) management page and log in.
Once logged in let’s explore the environment a bit more and look at the dashboard.
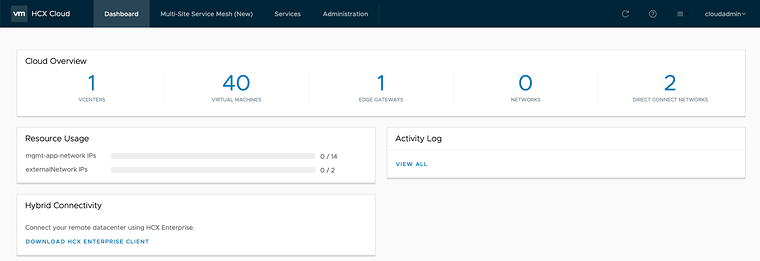
To download the HCX manager for the home lab (on-prem) side we need to click the “Administration” button and the “Request Download Link” button.
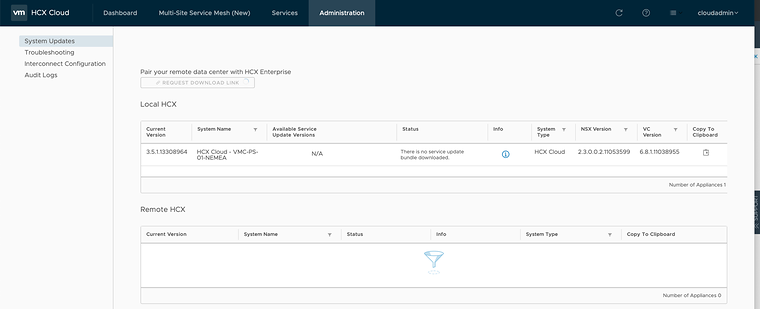
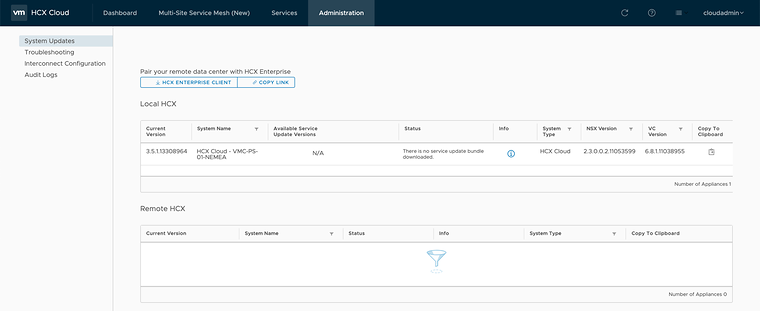
Once the button is clicked you need to download the “HCX Enterprise Client”.
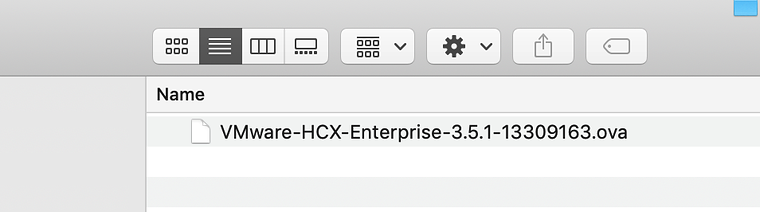
This is how the file will look like after you clicked the download button.
Let’s look around a bit more in the HCX manager on VMC on AWS.
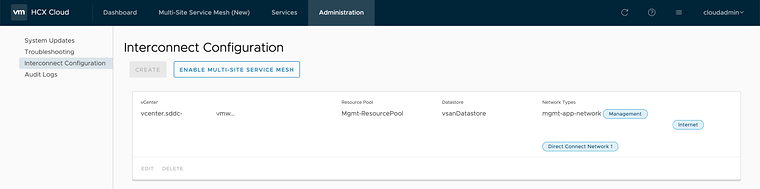
Administration —> Interconnect Configuration
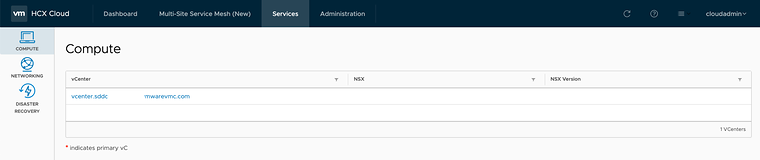
Services —> Compute
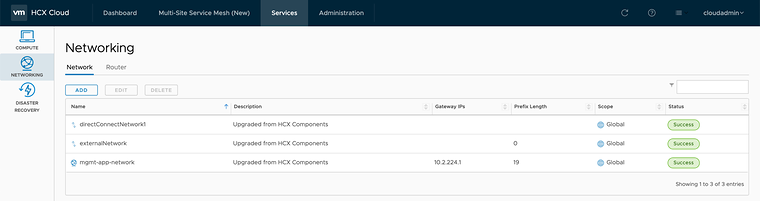
Services —> Networking —> Network
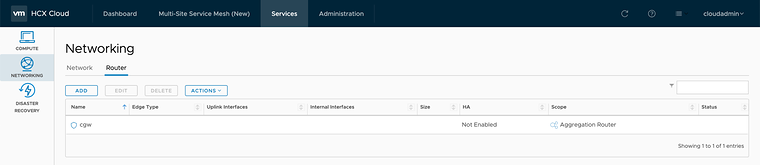
Services —> Networking —> Router
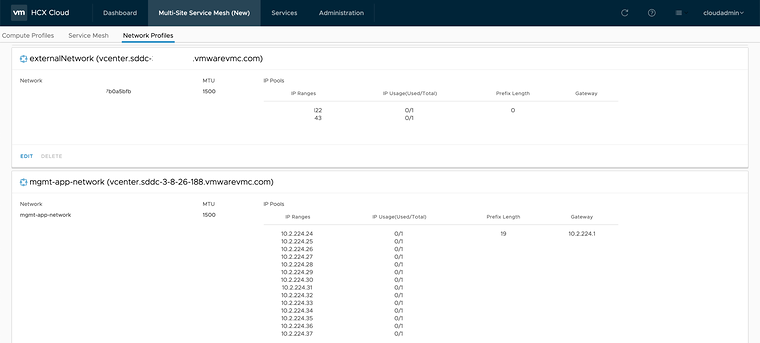
Multi-Site Service Mesh (New) —> Network Profiles

Home lab side installation and configuration steps
Now let’s deploy the “HCX Enterprise Client” on one of the hosts in my home lab using the vCenter server.
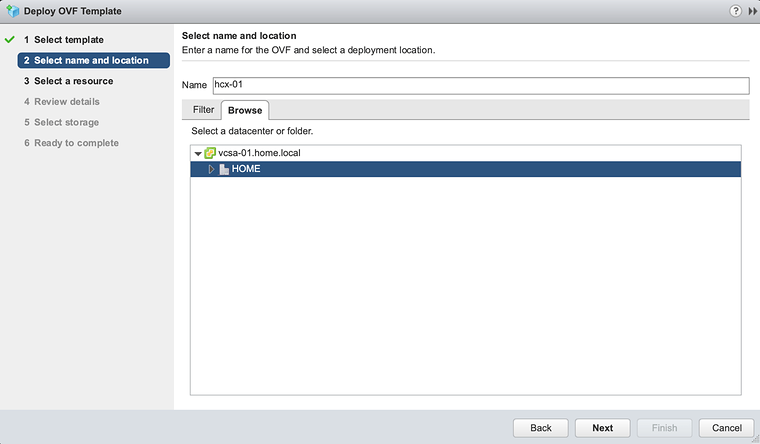
Give it a nice name:
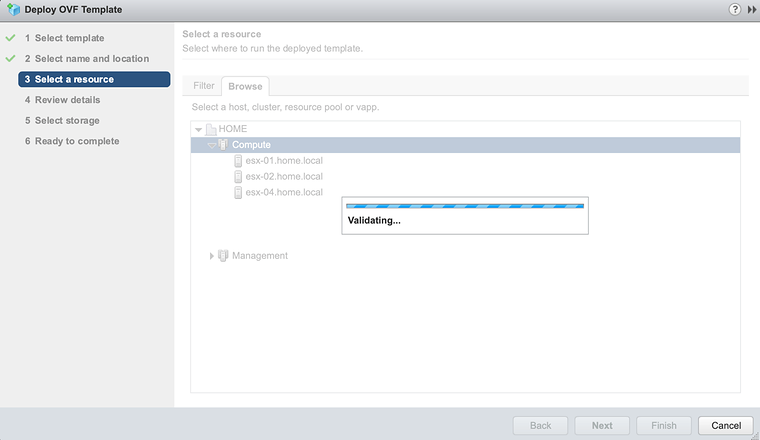
Select a proper cluster / host:
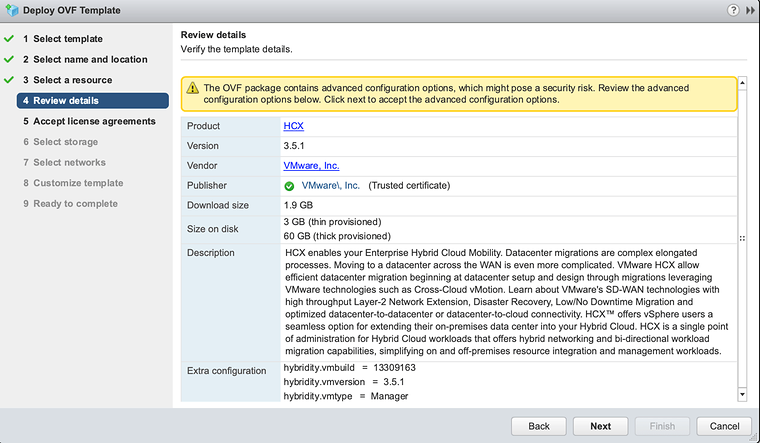
Review the details:
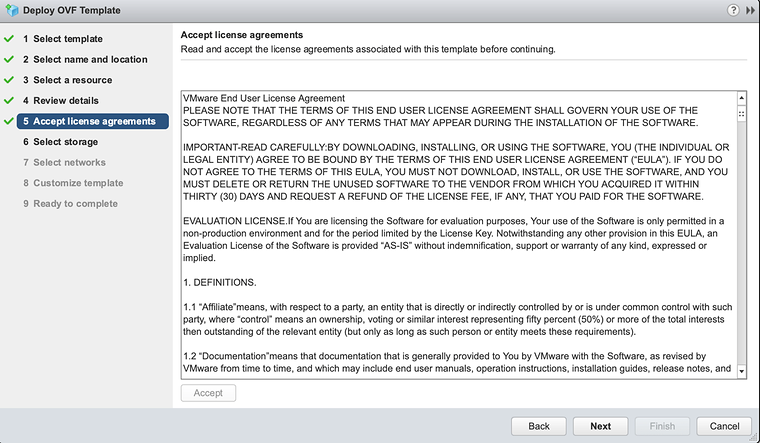
Accept the licence agreement:
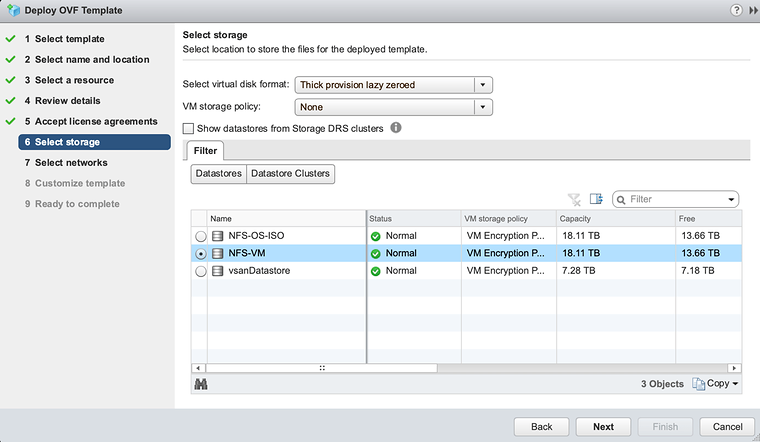
Select Storage:
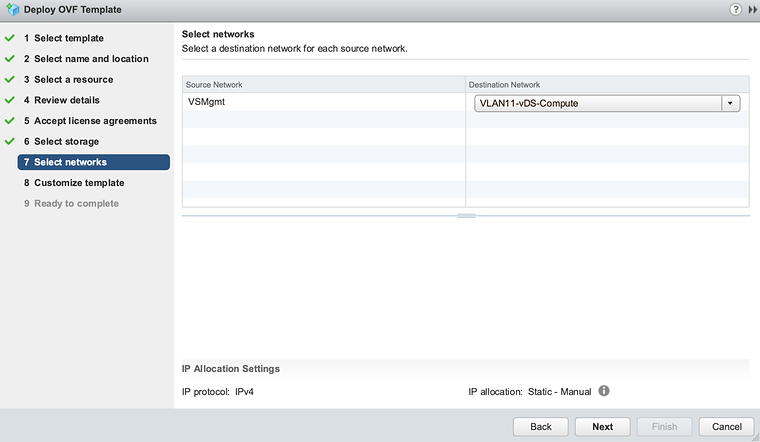
Select Networks:
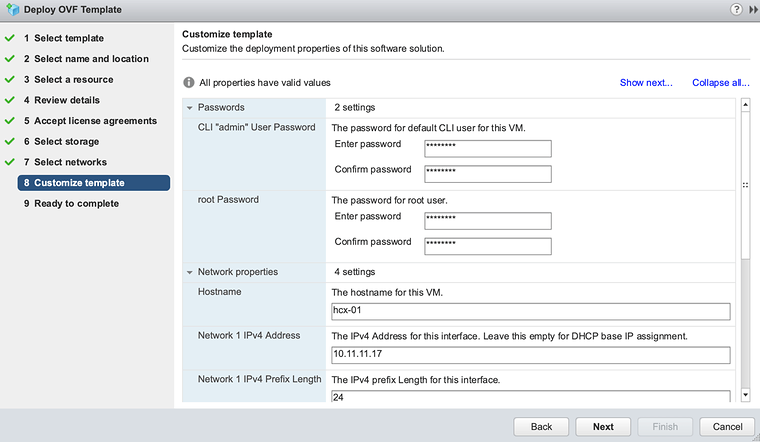
Customize the OVF Template:
Ready to complete and hit the “Finish” button.
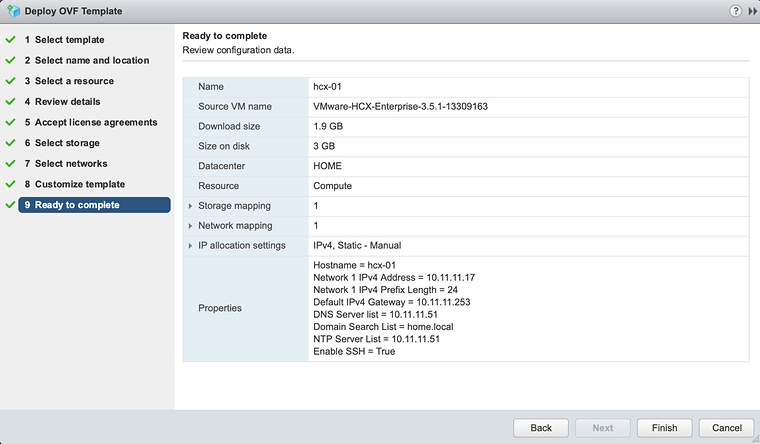
When the “HCX Enterprise Client” is fully deployed it will take around 15 minutes before all the services have started and we can log in.
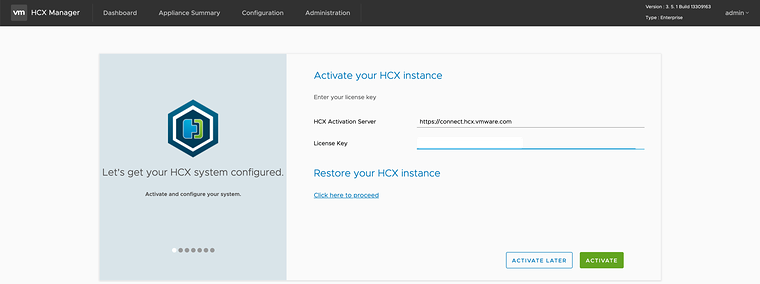
The first page after logging in is to “activate” your HCX instance. You need to type in a License Key. This License Key needs to be a VMware NSX Data Center Enterprise Plus per Processor License (NX-DC-EPL-C).
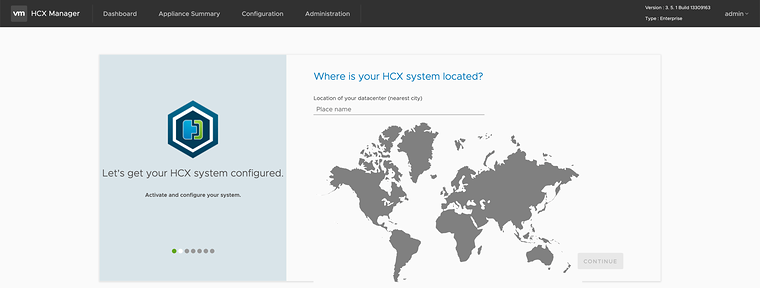
Input your location. For me, this was Rotterdam (The Netherlands).
Confirm/input your system name.
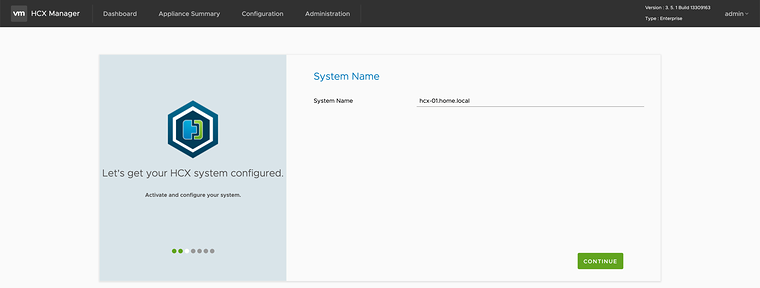
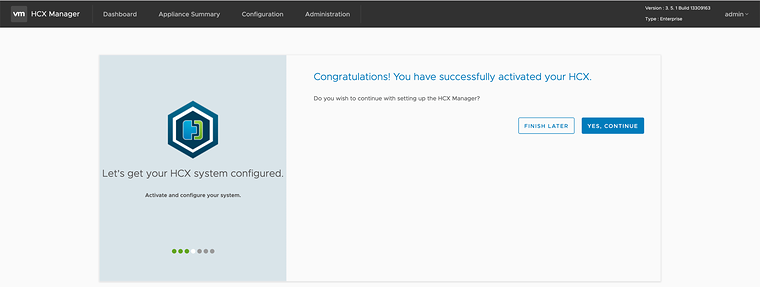
Not sure why this “Congratulations” page suddenly pops up but we finished the first phase of the initial configuration I guess. Click “YES, continue” for phase two.
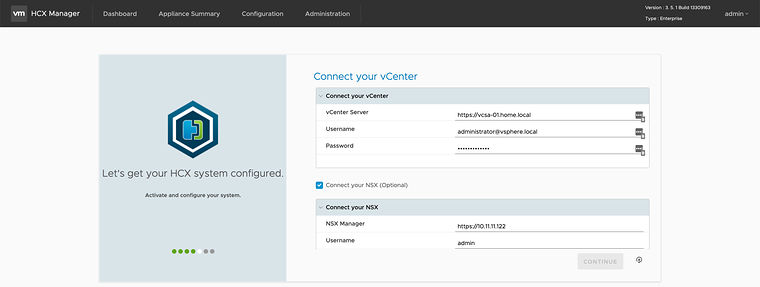
Specify the home lab vCenter Server details and NSX Manager details.
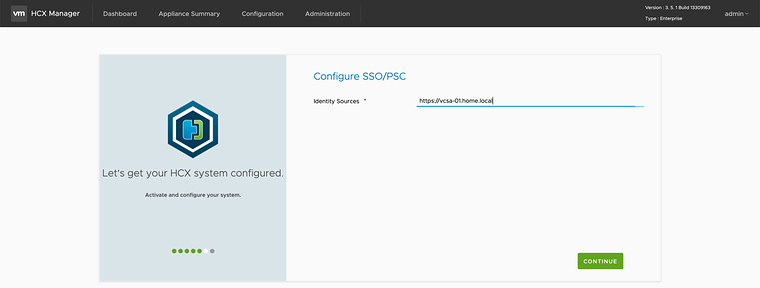
Configure SSO details.
And we have another congratulation for the second phase. Click “Restart”.
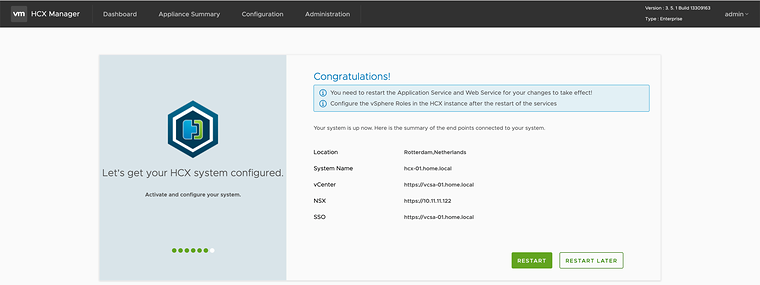
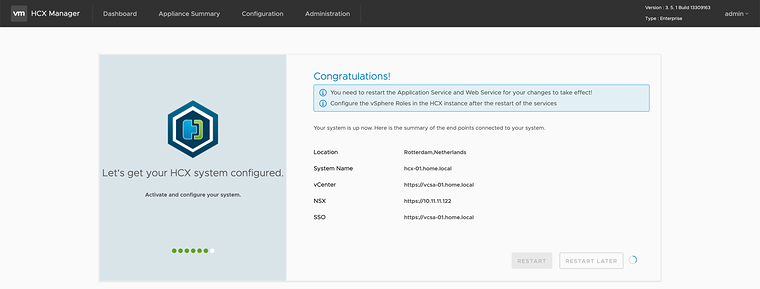
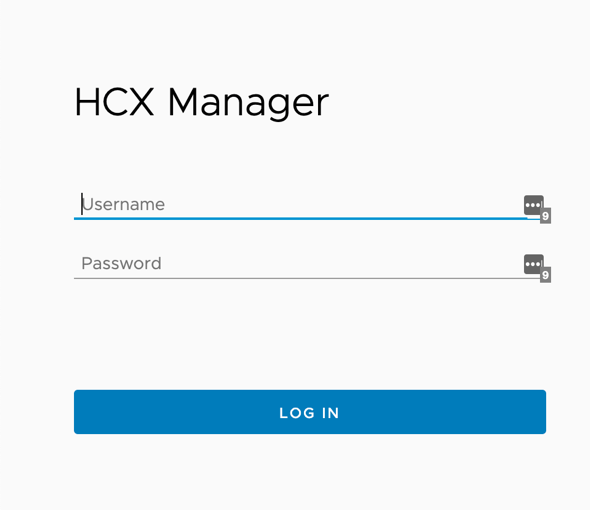
Log back in after the reboot.
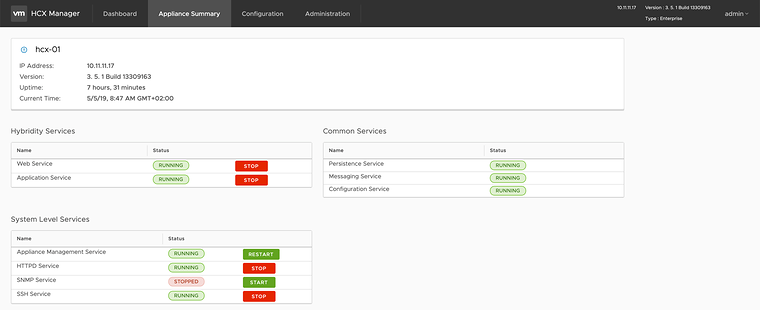
Look at the appliance summary.
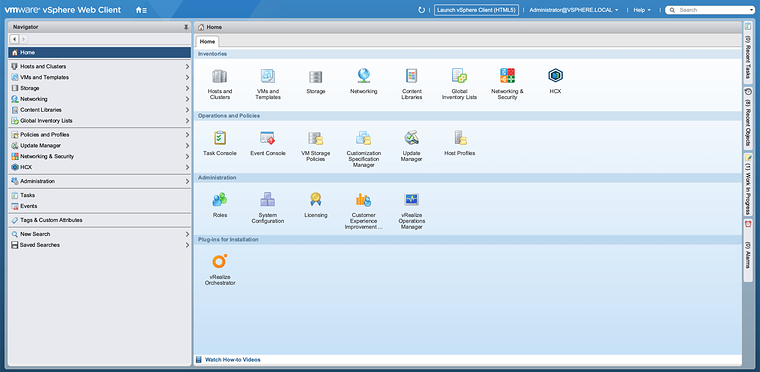
Now let’s verify if the HCX vSphere plug-in is installed as well by logging into the vSphere Client:
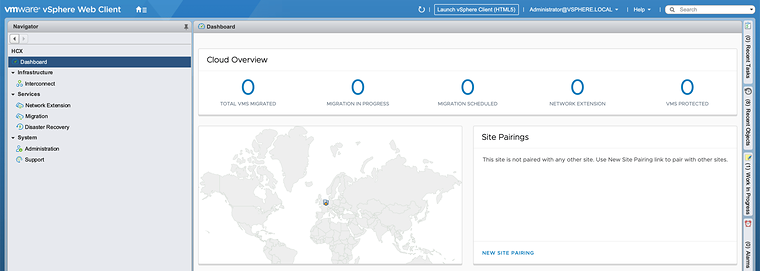
Click on “HCX” and take a look at the dashboard. Click on “New Site Pairing” to pair with the VMC on AWS HCX Manager.
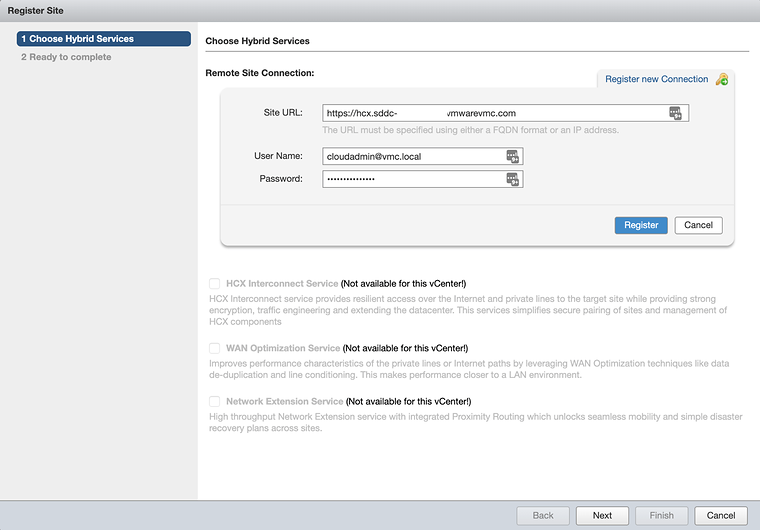
Click on “Register new Connection”
Input the VMC on AWS HCX Manager details and click register.
As you can see this gave me an error below: “Untrusted SSL Connection”
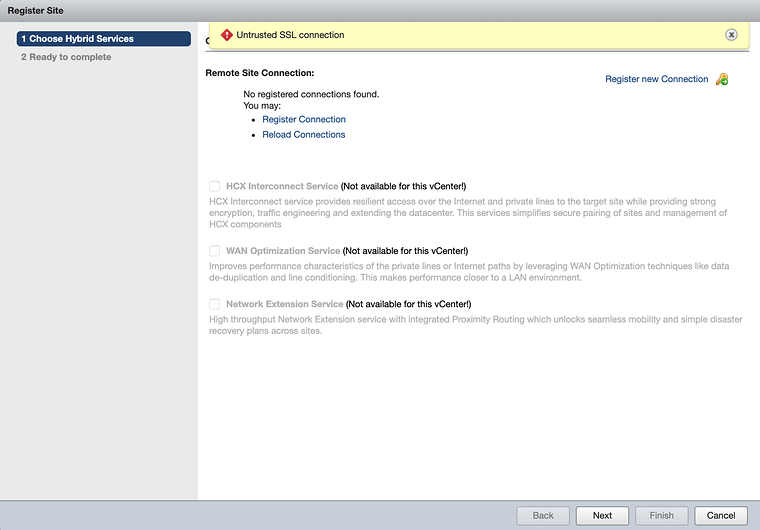
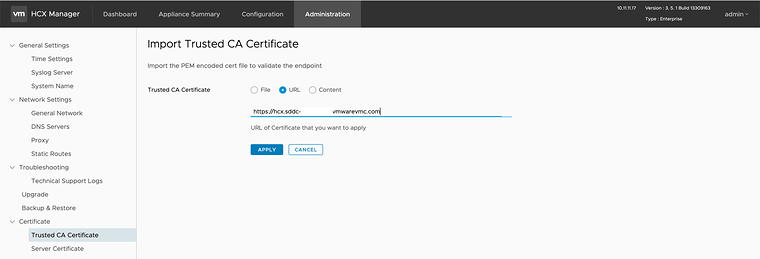
In order to fix this, we need to log in to the “HCX Enterprise Client” management page: Administration —> Trusted CA Certificate —> Import Trusted CA Certificate (trough the URL) and click apply.
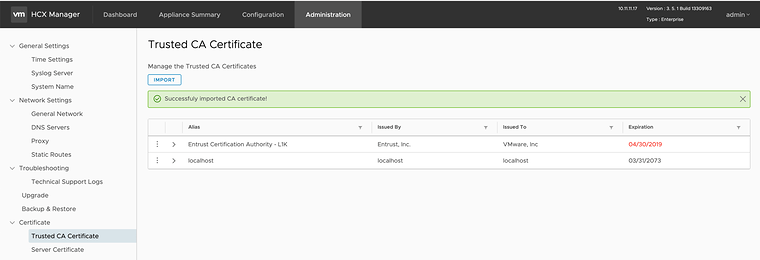
The confirmation that the CA certificate is imported successfully.
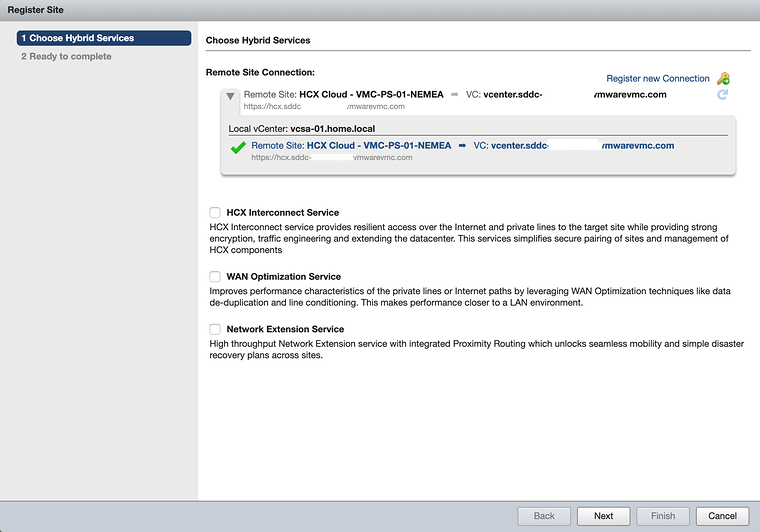
Now we can continue with Registering the new connection without any issues.
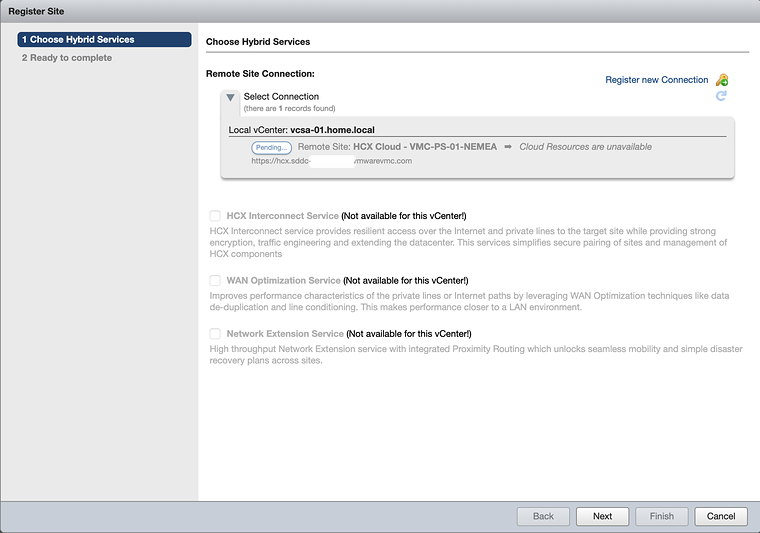
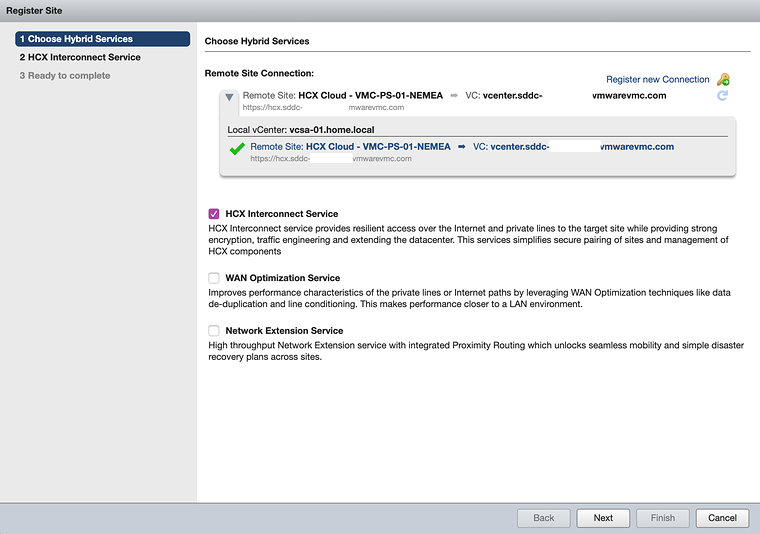
Select the “HCX Interconnect Service” check button.
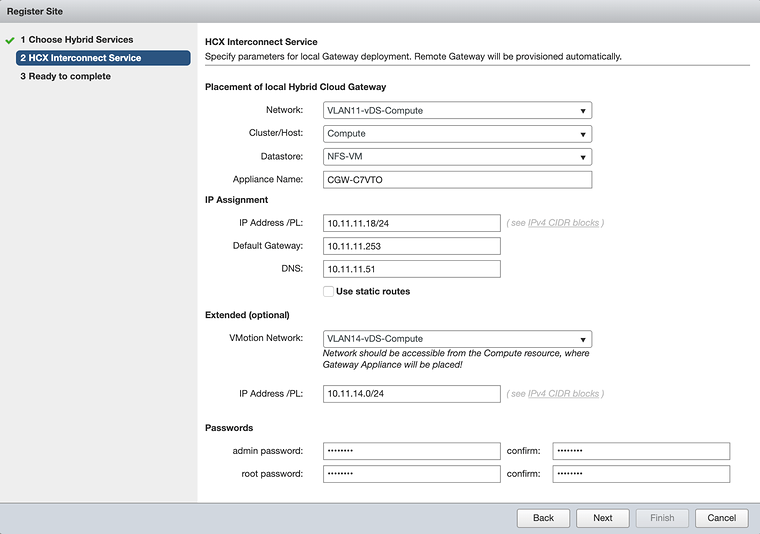
Another appliance will be deployed which is called the “local Hybrid Cloud Gateway”. The new appliance needs to have the details specified where and how it needs to be deployed.
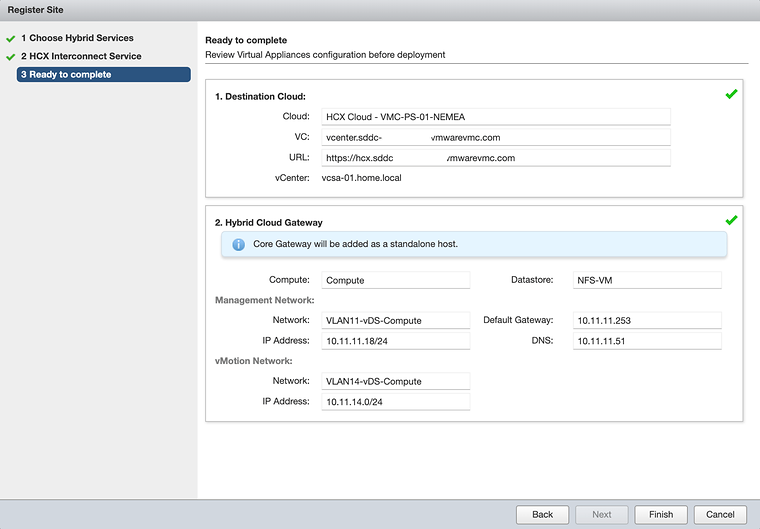
Review the destination counterpart as well that will be deployed on the VMC on AWS side. Note that these gateways: 1) The local “Hybrid Cloud Gateway” (home lab side) 2) The remote cloud “HCX Cloud Gateway” (VMC on AWS side) Will be added as “hosts” to the vCenter Servers locally and remote)
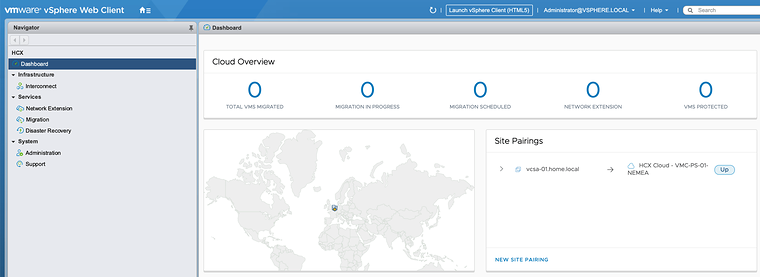
Verify the new site pairing.
Verify the local “Hybrid Cloud Gateway” VM.
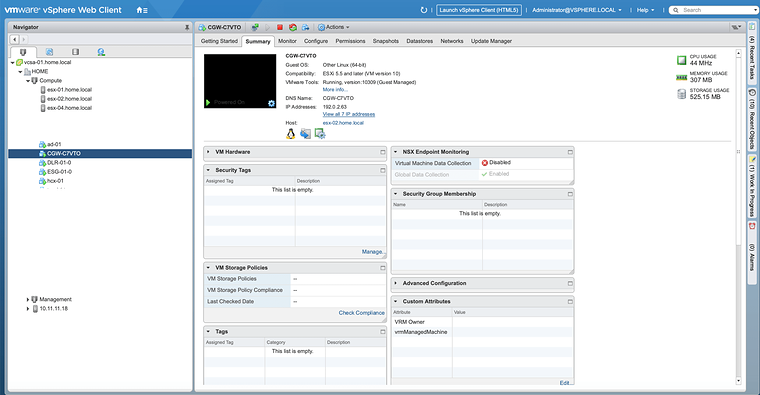
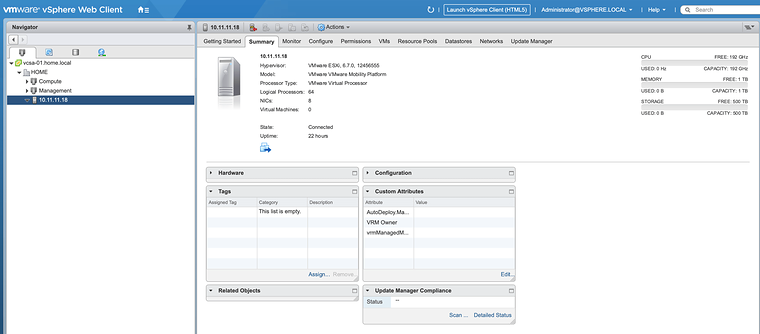
Verify the “Hybrid Cloud Gateway” (host) added to the vCenter Server. (home lab side)
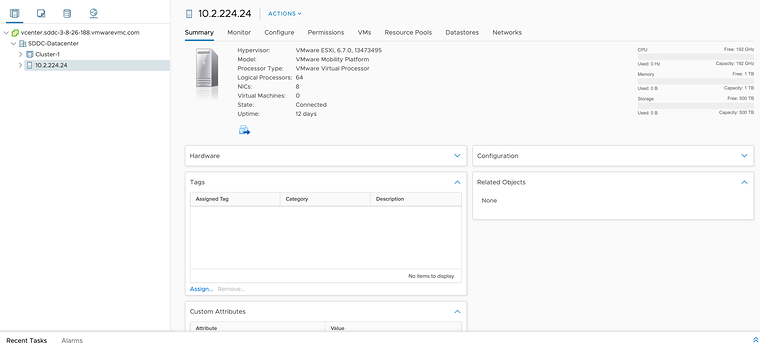
Verify the “Hybrid Cloud Gateway” (host) added to the vCenter Server. (VMC on AWS side)
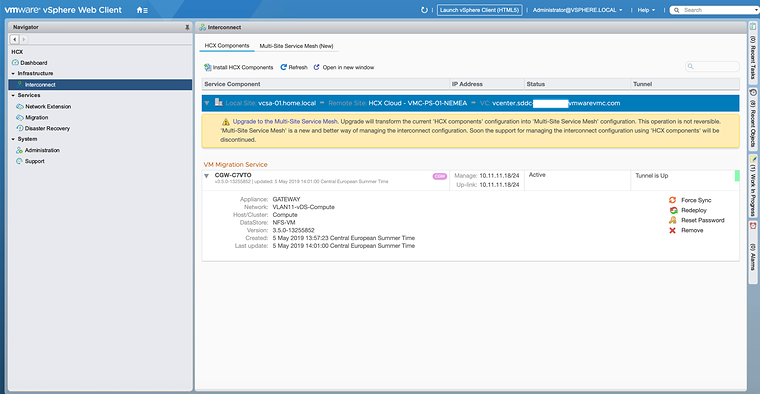
Review the “Interconnect” section with the HCX Components. Here you can see that the “Tunnel is Up” which is important for our service to work.
When you click on “Administration” you can verify the link between the two HCX appliances.
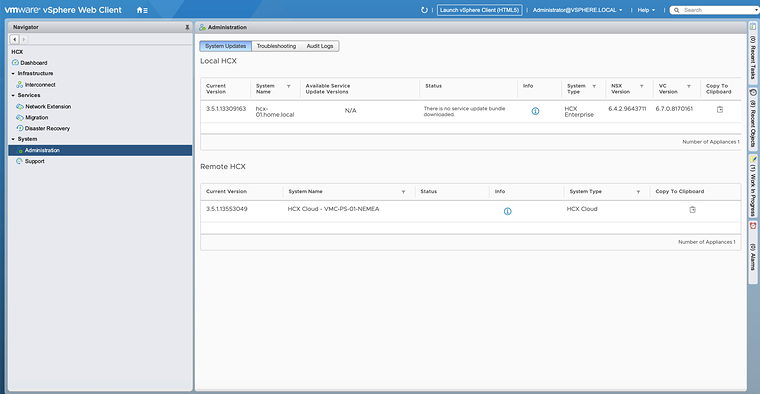
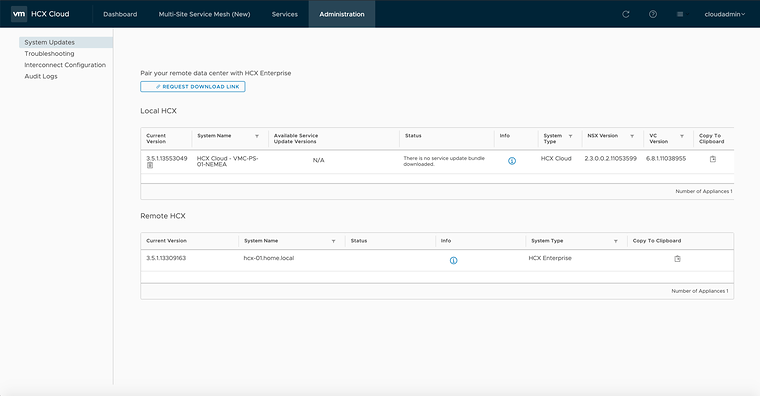
When we log back into the “HCX manager” management page and click on Administration —> System Updates You can see the linked HCX appliances as well.
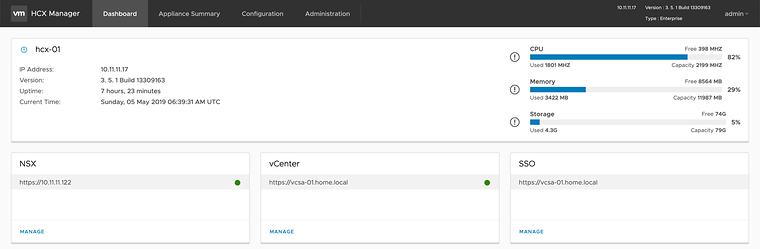
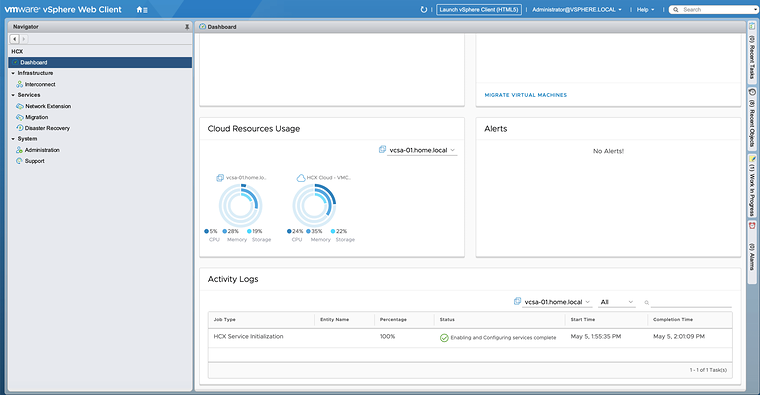
Let’s jump back on to the local HCX Enterprise client and look at the Dashboard.
Testing and Verification by doing a cold migration
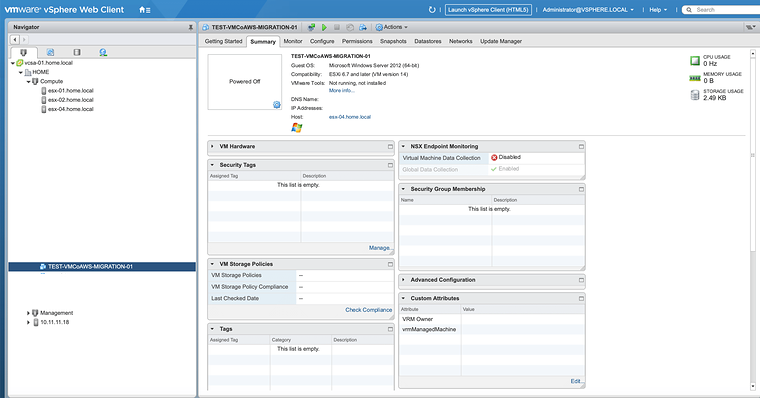
For this occasion, I have created a blank VM with a (virtual) hard disk of 40 GB. We will use this VM for the cold migration.
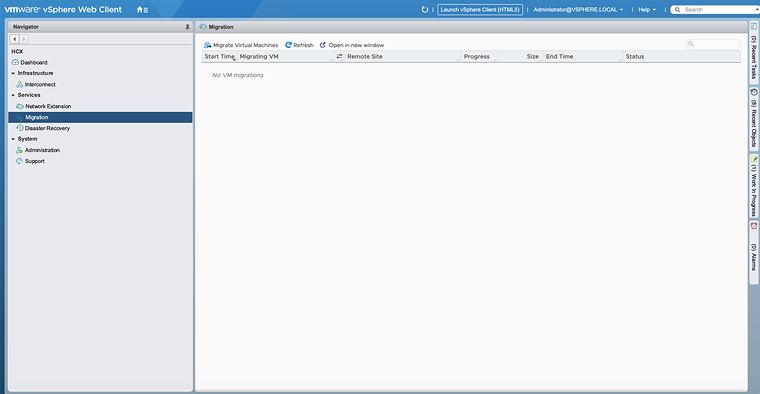
Click on “Migration” and then the “Migrate Virtual Machines” button.
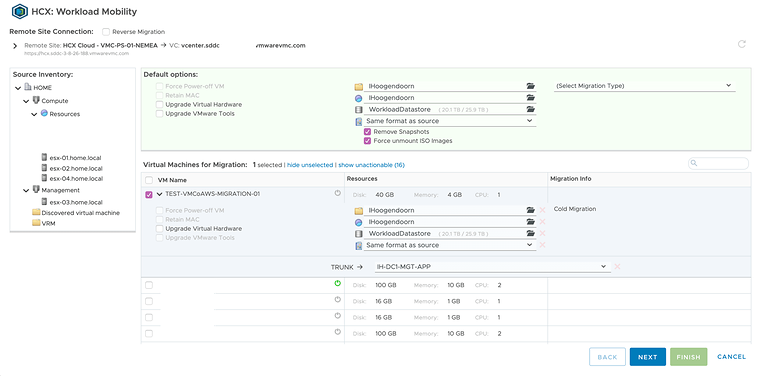
Specify your “to” and “from” details and click “Next”.
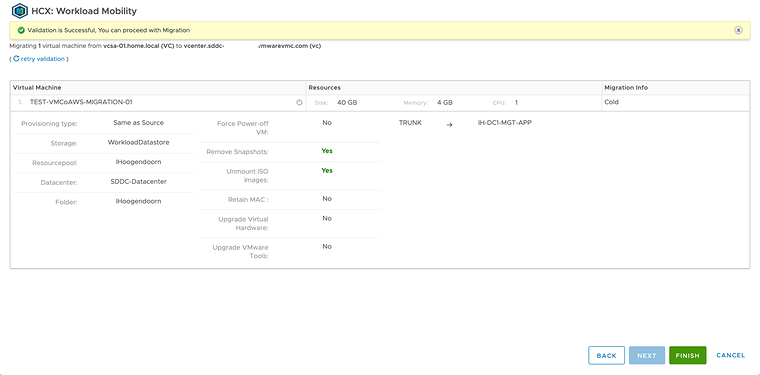
Review the “validation” and click “Finish” to start the cold migration.
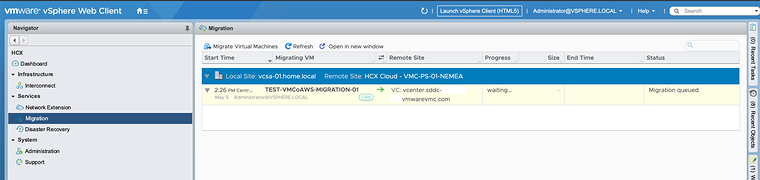
And review the status of the actual migration.
Migration Queued:
Creating shadow Virtual Machine:
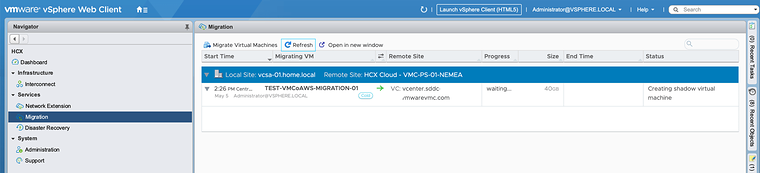
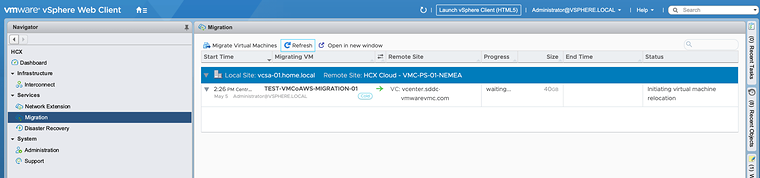
Initiating Virtual Machine Relocation:
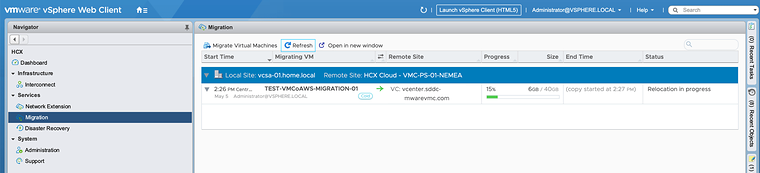
Relocation in progress:
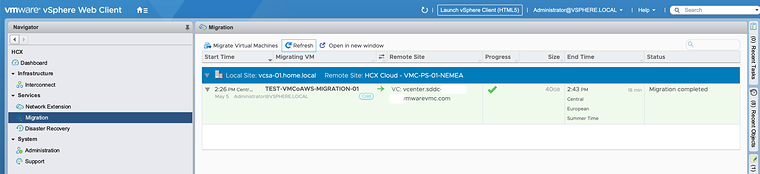
Migration completed:
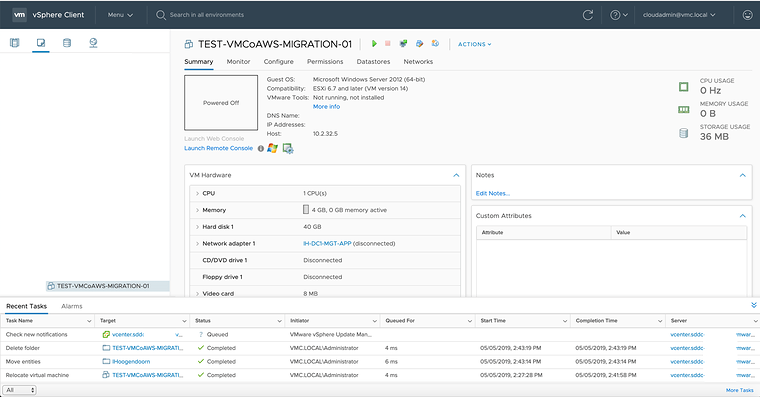
Verify the VMC on AWS vCenter Server if the (migrated) VM is actually there:
Originally published on the old wiki at /index.php/Deploying,_configuring_and_testing_HCX_based_migration_between_my_home_lab_and_VMC_on_AWS.