In this article, I will do a quick walkthrough of the OCI Console. Even though it is impossible to show you where everything can be found, I will show you where you can find the most common features/services and how to navigate the OCI Console.
Before you can start you will have to create an (free) account. With this account, you will be able to perform some basic tasks for free and this will also help you to get more familiar with the OCI services and the console.
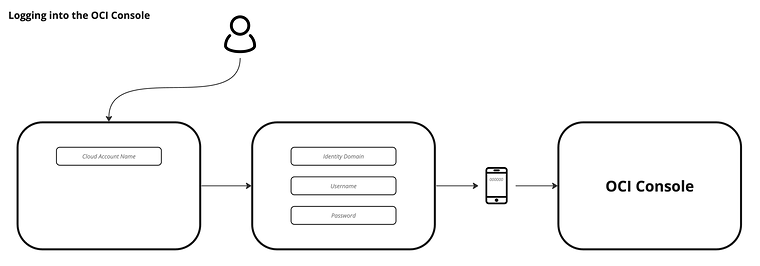
The Steps
- STEP 01: Sign up for a new Oracle (customer) Account
- STEP 02: Add your payment details
- STEP 03: Start your Free Trial
- STEP 04: Log into OCI using your new account
- STEP 05: Configure MFA using the Oracle Mobile Authenticator
- STEP 06: Review the OCI Console
STEP 01 – Sign up for a new Oracle customer Account
First start by browsing to cloud.oracle.com. You will get a question related to cookies, and to make sure the website operates the best select “Accept all”.
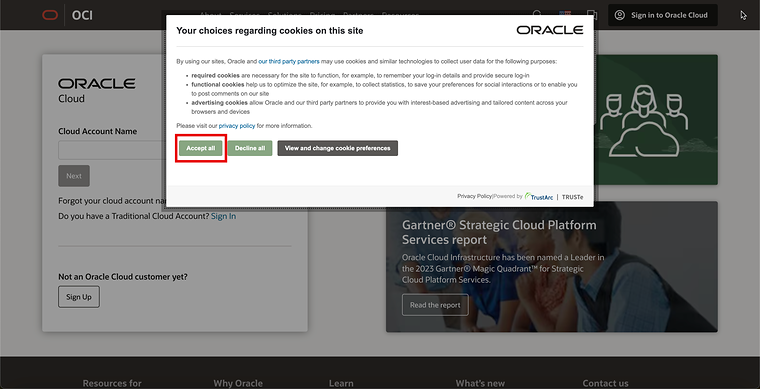
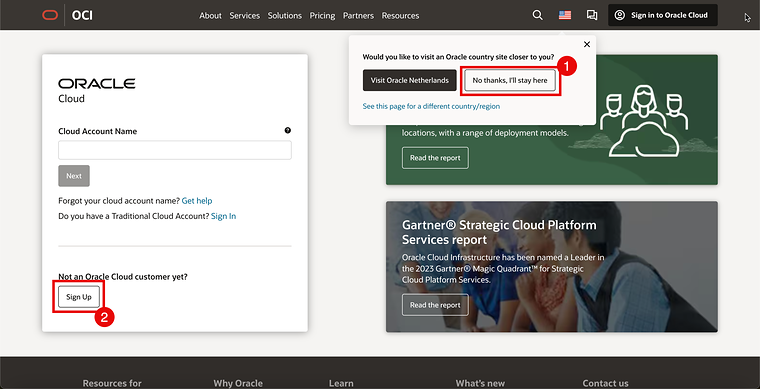
- Based on the country that you are based you may get a question if you would like to visit the Oracle website that is close to your region (or to personalize the content tailored to your region/country). I have selected “No thanks, I’ll stay here” for now.
- Click on “Sign Up”.
- Select your residential country
- Type in your First Name
- Type in your Last Name
- Type in your Email (address)
- Tick the checkbox to prove you are not a robot
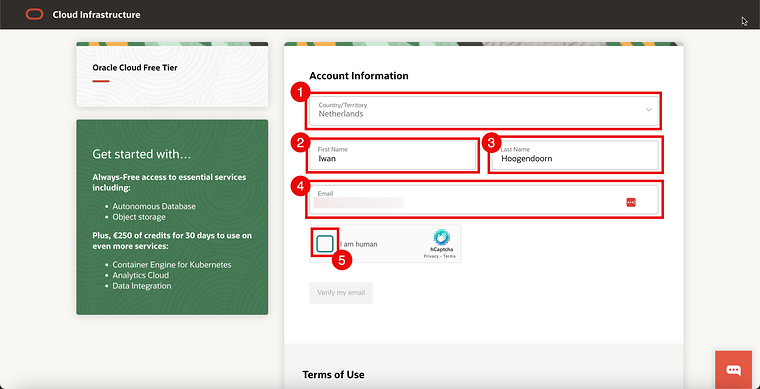
- To prove you are human you need to identify images.
- Click “Next”.
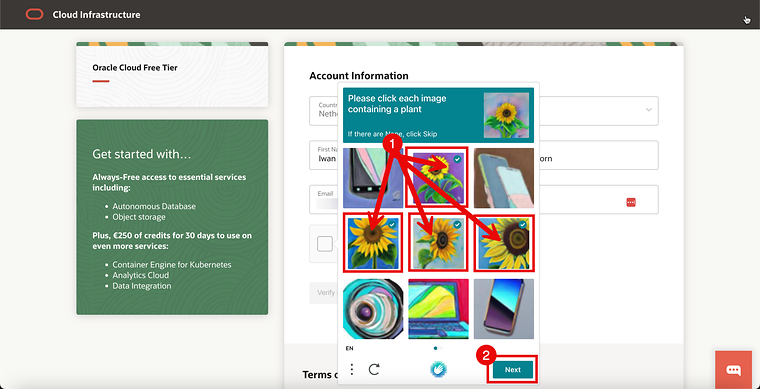
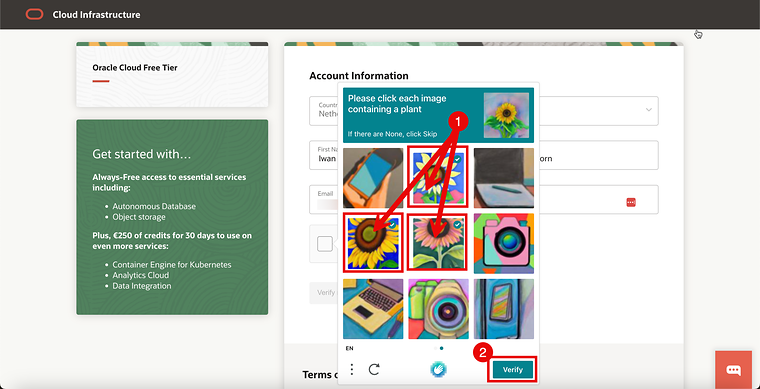
- Identify images for another round.
- Click “Verify”.
- Once you jump through the hoops to prove you are human you will now see a checkmark in the checkbox.
- Click on “Verify my email”.
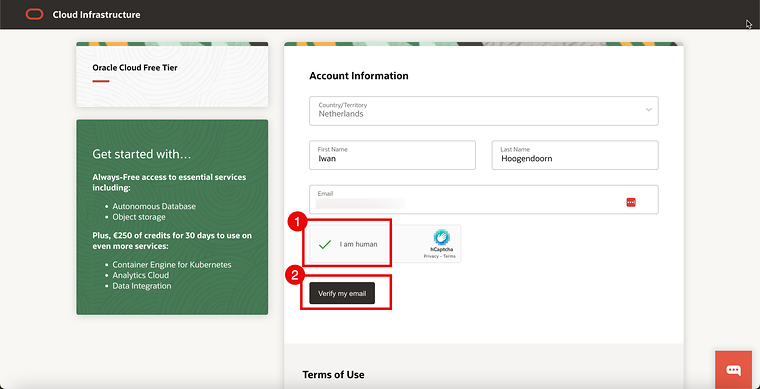
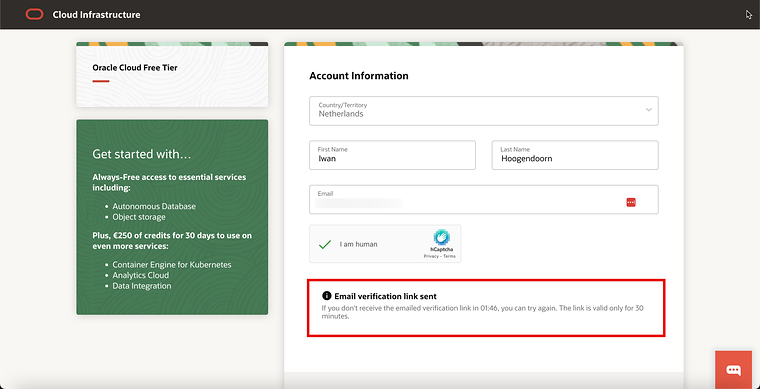
A message that an email verification link is now sent will be displayed.
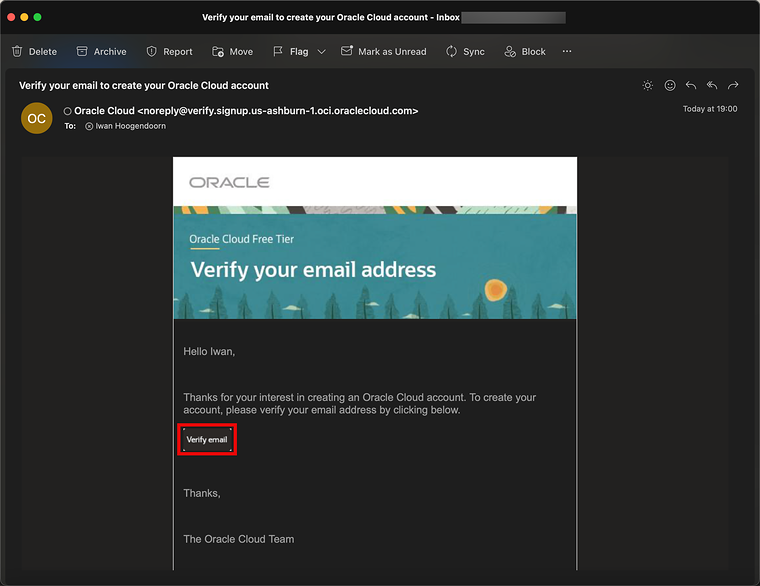
Go to your email client and look for this email.
Click on the “Verify Email” button in that email message.
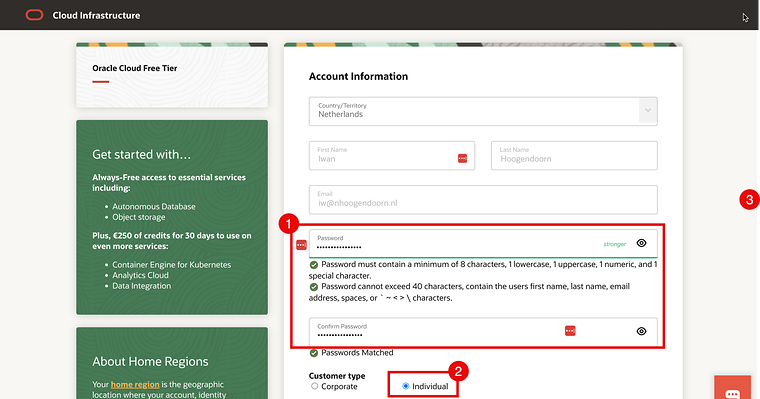
You will be redirected to complete your account.
- Type in your (new) account password.
- Select your customer type. I have selected “Individual”.
- Scroll down.
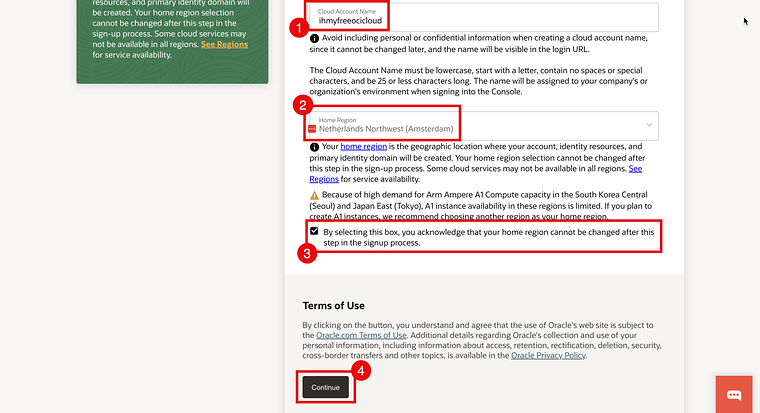
- Type in your Cloud Account Name.
- This is an important identifier that can not be changed later, so think of something that makes sense, and do not use personal information like your full name.
- I am using “ihmyfreeocicloud”
- Select your Home Region”
- I am using “The Netherlands” because this is my home region.
- Acknowledge that the home region you select NOW can not be changed LATER.
- Click on “Continue”
- Type in your address information and phone number.
- Click on “Continue”.
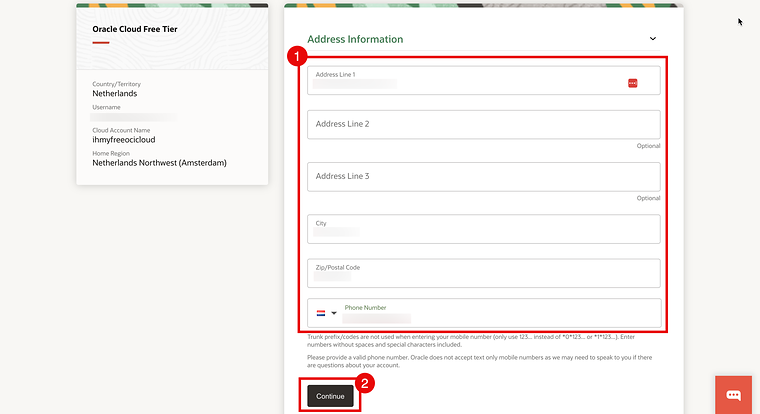
STEP 02» Add your payment details
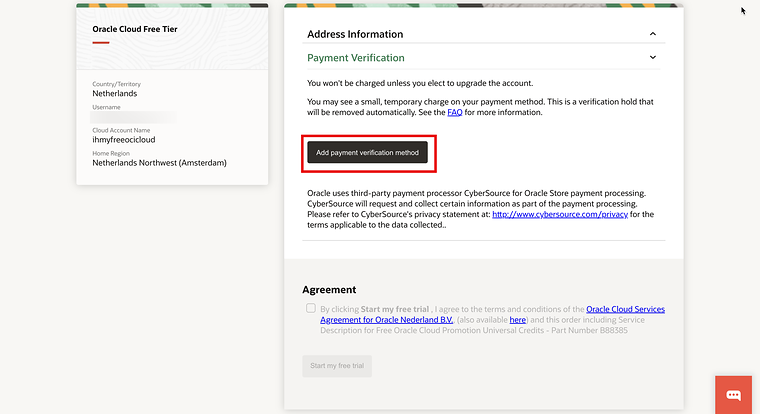
After your profile details and home region is specified you need to add your Payment details.
Click on “Add payment verification method”.
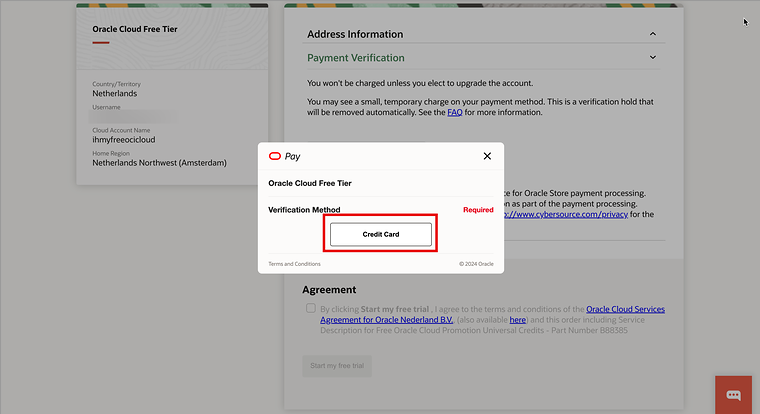
Click on “Credit Card”.
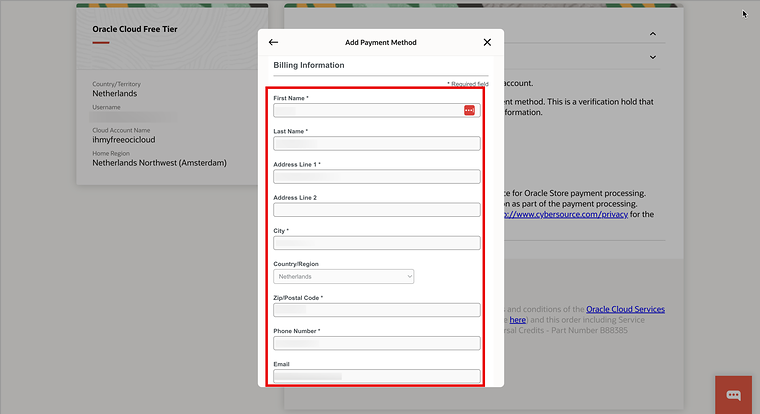
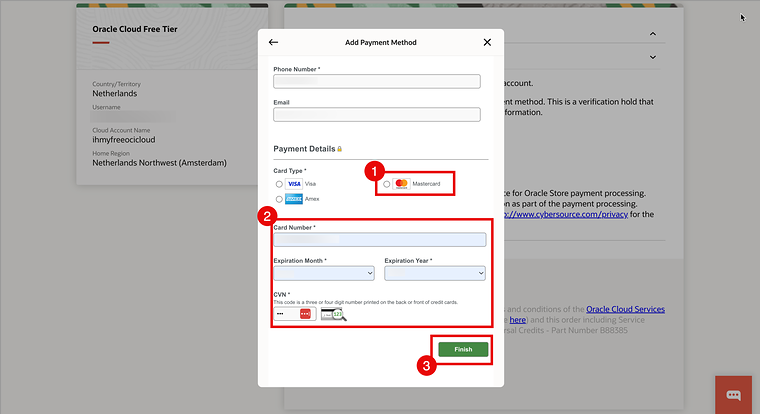
Most of the Billing Information will be pre-filled for you based on the information you previously entered. Scroll down to enter the payment details.
- Select your Credit Card Type. I will select Mastercard for now.
- Type in your Credit Card Number, Expiration Month, Expiration Year, and CVN.
- When you are using a Credit Card, make sure you are NOT using a pre-paid Credit Card as this is blocked by Oracle. (I tried it first with a Revolut pre-paid Credit Card and this was not accepted).
- Click on “Finish”.
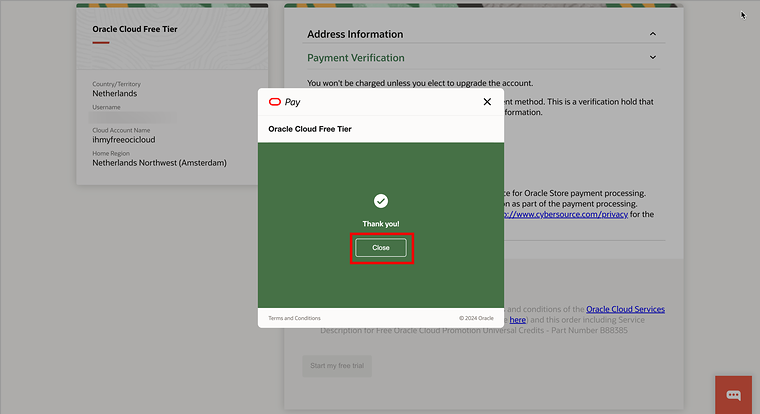
Click on “Close”.
STEP 03» Start your Free Trial
Now that your Payment details have been entered it is finally time to start your free trial.
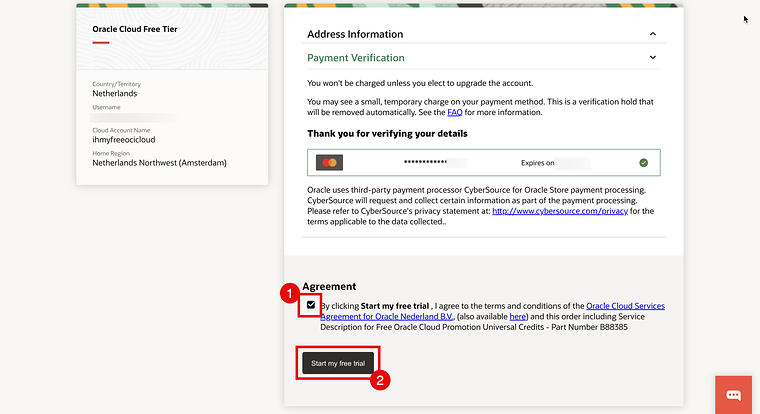
- Accept the terms and conditions.
- Click on “Start my free trial”.
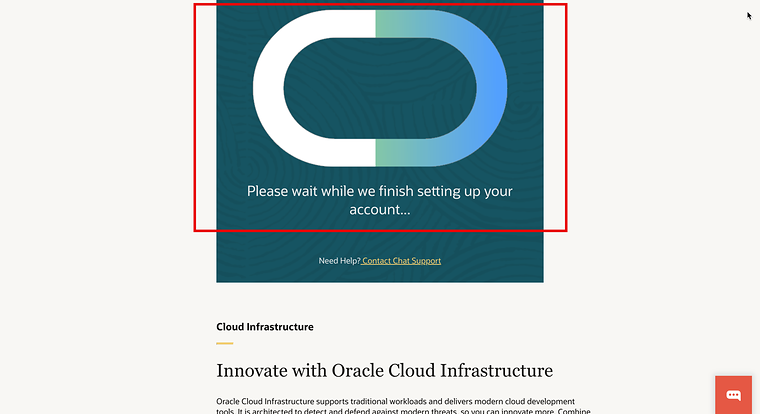
After clicking on the “Start my free trial” your Oracle Cloud environment will be created and this can take a few minutes.
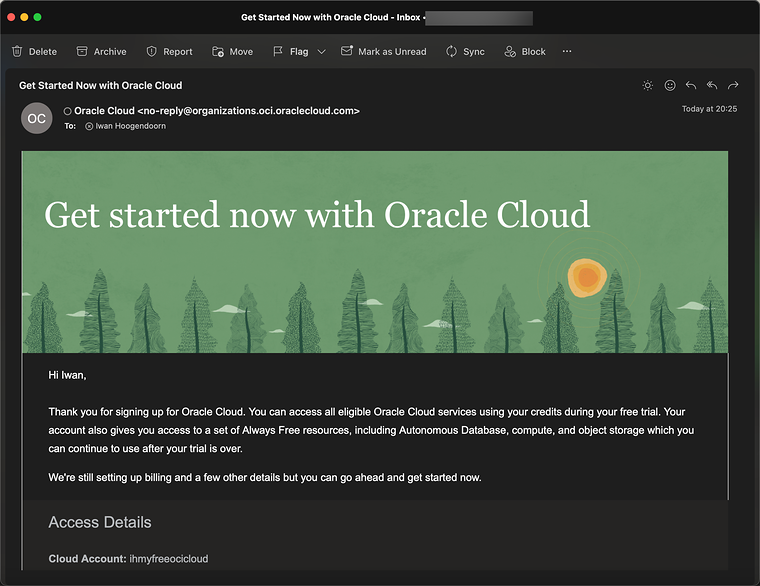
In the meantime when your Oracle Cloud environment is prepared you will get an Introduction email.
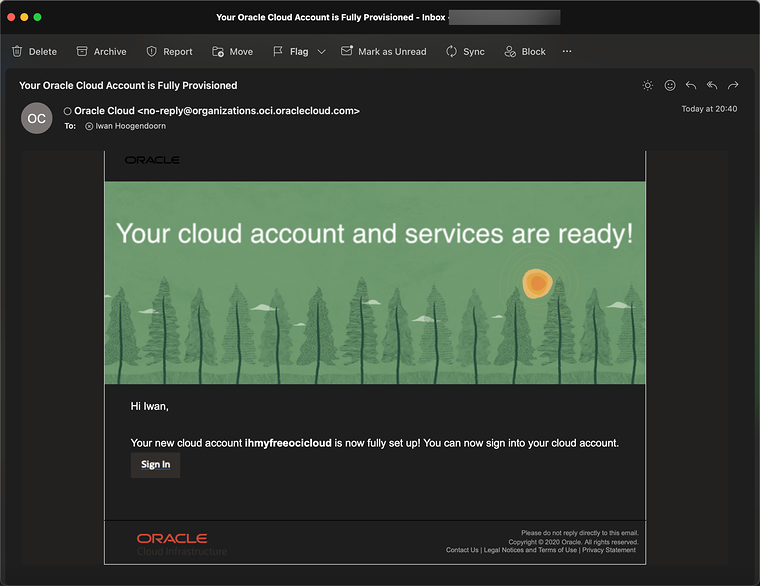
When your Oracle Cloud environment is ready you will also get an email that you are good to go.
STEP 04» Log into OCI using your new account
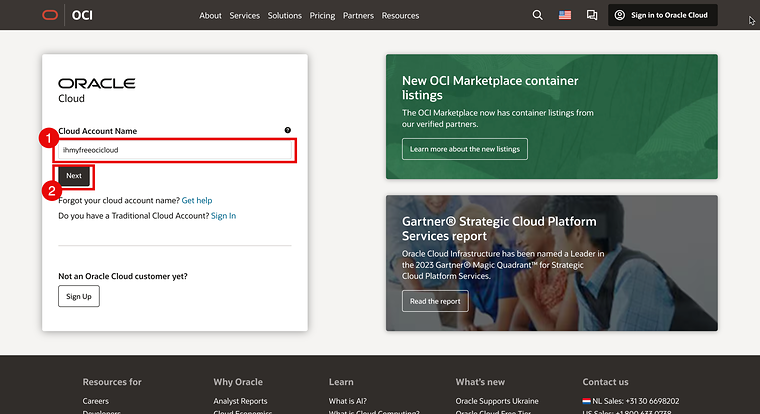
Now you can finally log into your Oracle Cloud environment from [cloud.oracle.com](https://cloud.oracle.com).
- Type in your Cloud Account Name that you specified during the registration process.
- In my case this is “ihmyfreeocicloud”.
- Click on “Next”.
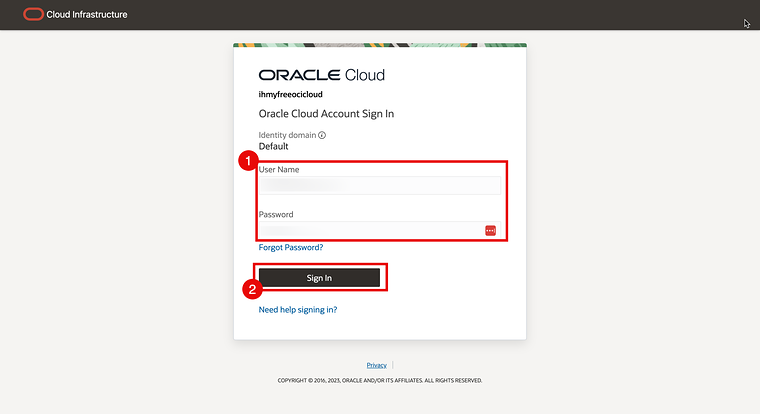
- Type in your Username and Password that you specified during the registration process.
- Click on “Sign In”.
STEP 05» Configure MFA using the Oracle Mobile Authenticator
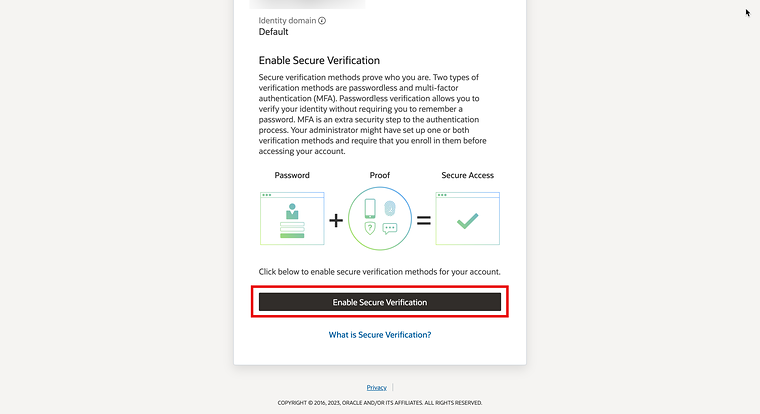
The first time you log in you are prompted to enable Multi-Factor Authentication (MFA). This can not be dismissed and is mandatory now.
Click on “Enable Secure Verification”.
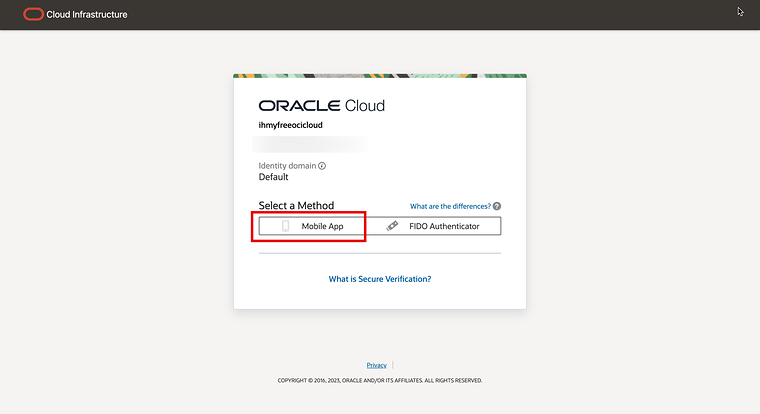
Select your main MFA method. For me, this is the Mobile App.
Make sure you download the Oracle Mobile Authenticator App from your Mobile App Store.
Scan the QR code presented on the screen from your Oracle Mobile Authenticator App using the camera of your phone.
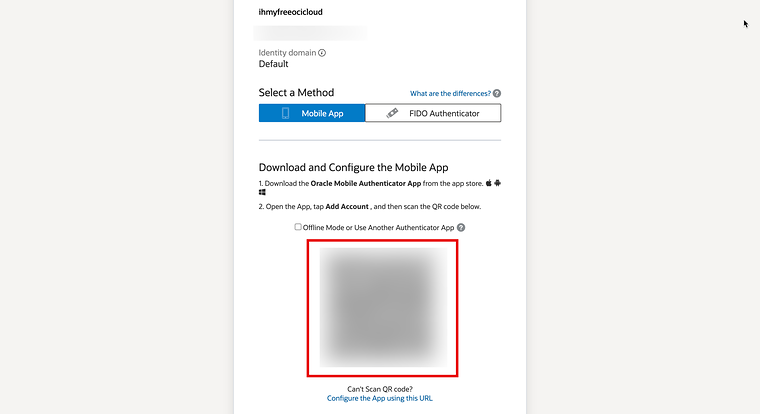
From your phone select “Add Account” and scan the QR code presented on the screen of your browser.
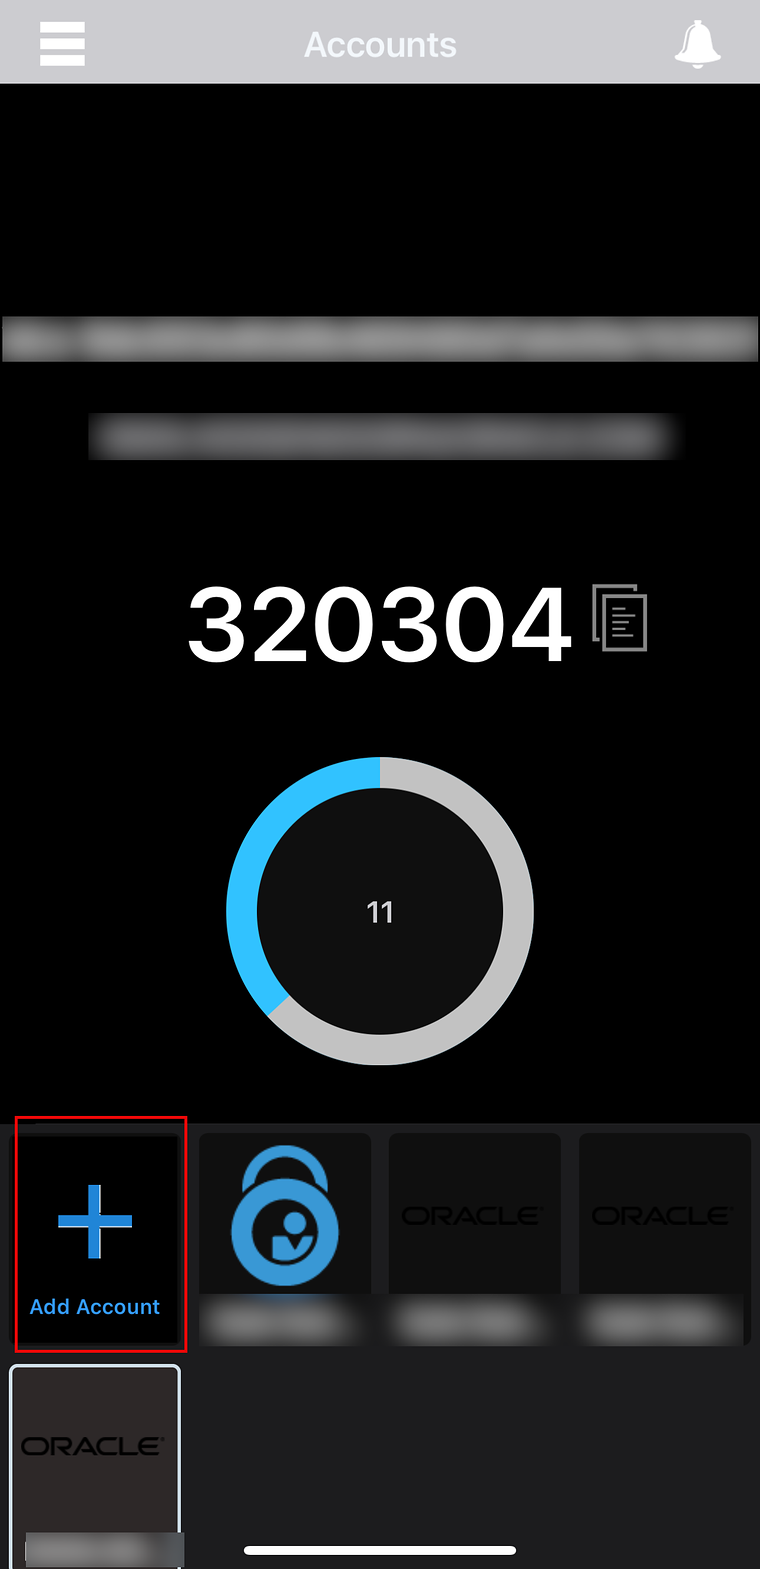
After you have scanned the QR code a new account is added to your App.
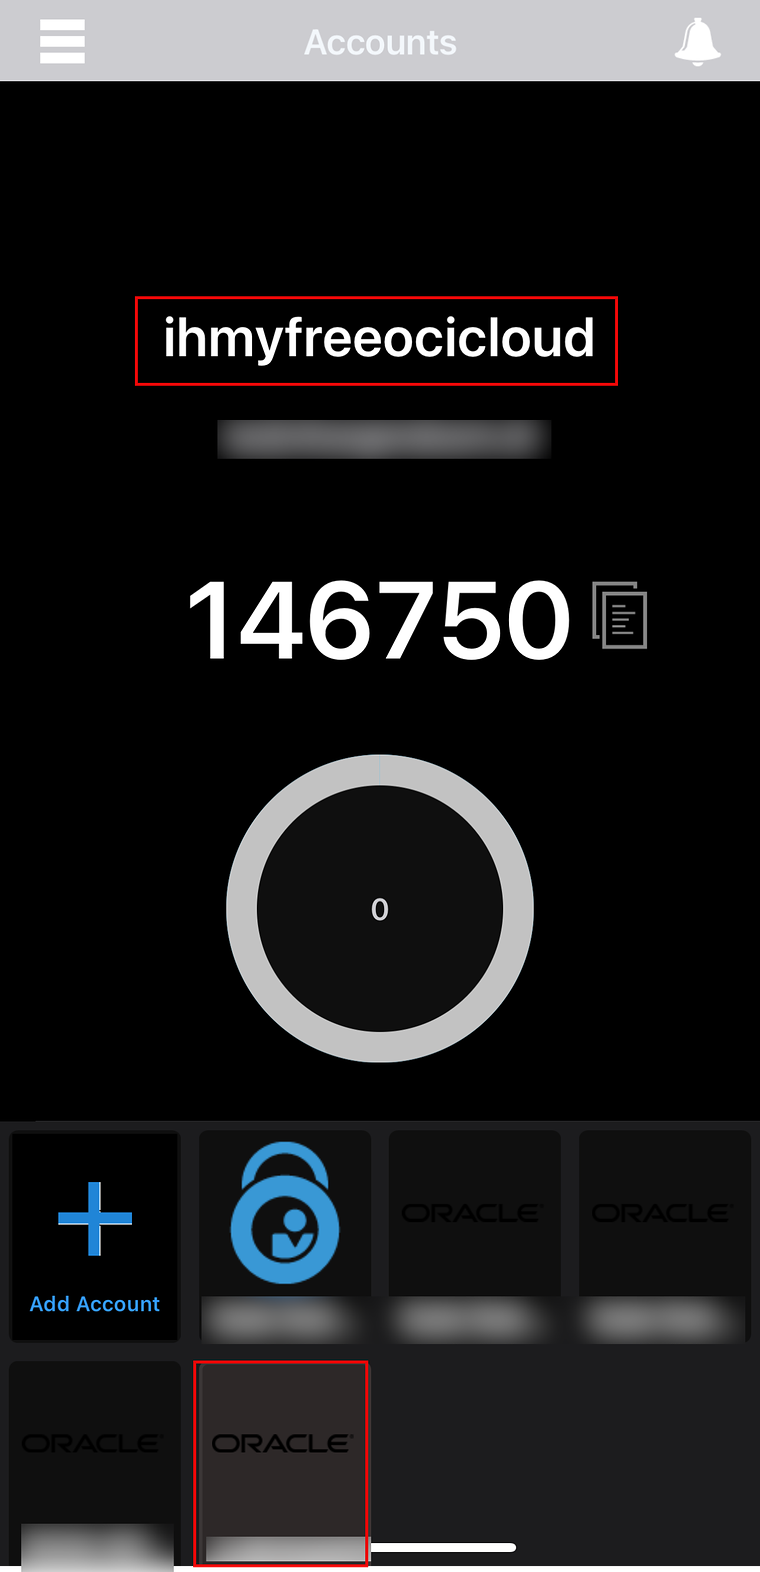
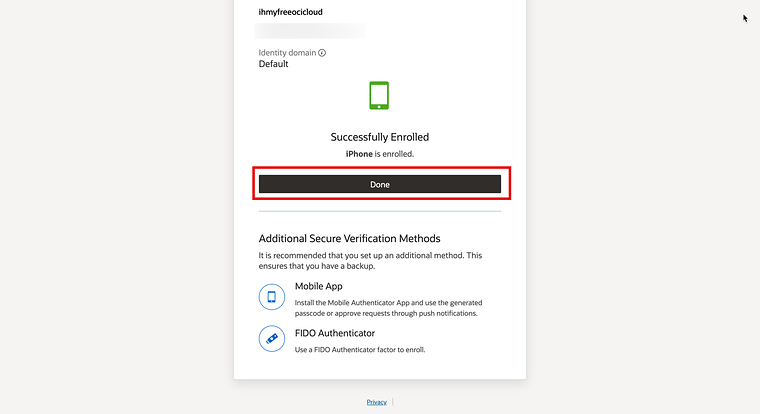
After your account has successfully been added to your Oracle Mobile Authenticator App (and enabling MFA now click on “Done”.
STEP 06» Review the OCI Console
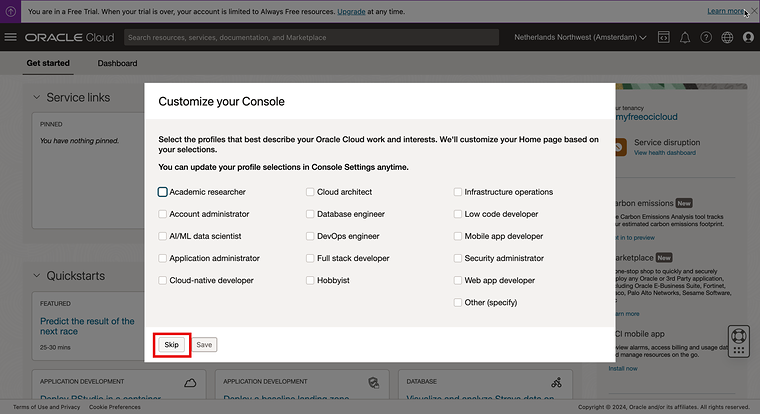
When you log in for the first time in your OCI Console you can customise the console based on your needs. I am going to skip this.
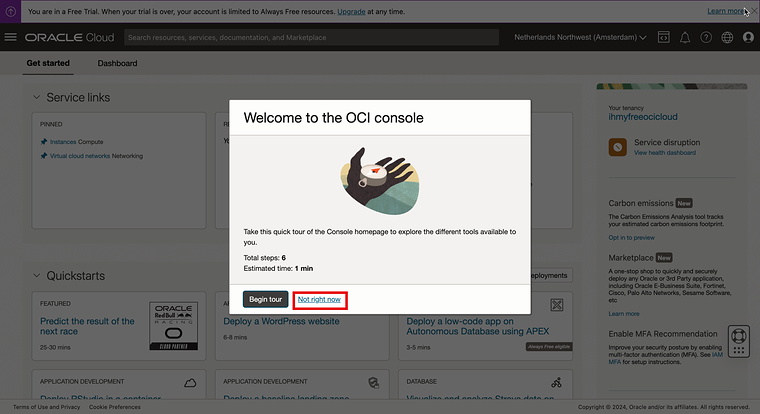
You will also be presented with an OCI console tour. You can take this if you want as it only takes 1 minute to complete. But again I will skip this.
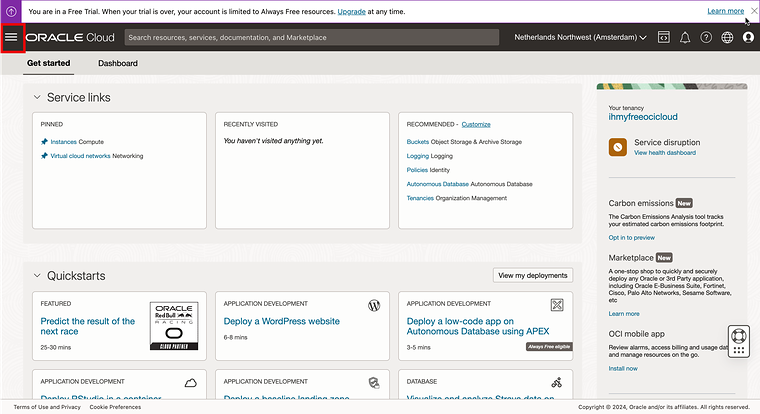
Once you have jumped through the hoops again you finally arrive at the OCI Console.
To navigate through the services and features, click on the hamburger menu in the left upper corner.
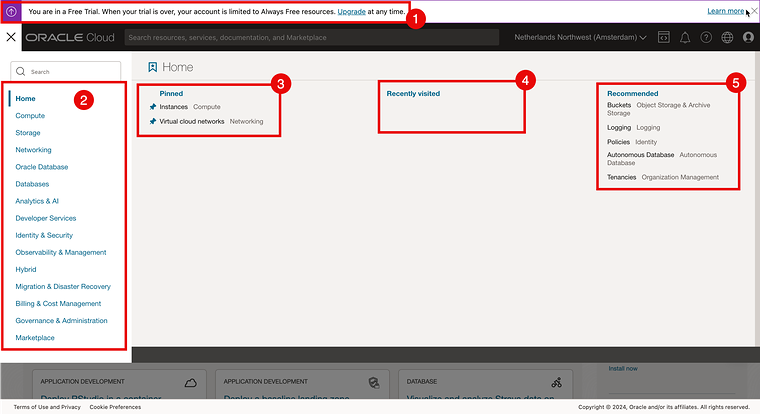
- Notice that you are still operating in “Free Trial” mode.
- Look at the Menu where you will find a categorized overview to navigate the services and features.
- When you “pin” services and features you are using often it will show up in the Home screen.
- By default two pins will be visible.
- In the next section you will see the Recently visited services and features.
- For now this is empty because you have just logged in for the first time.
- In the last section you will see some Oracle Recommended services and features.
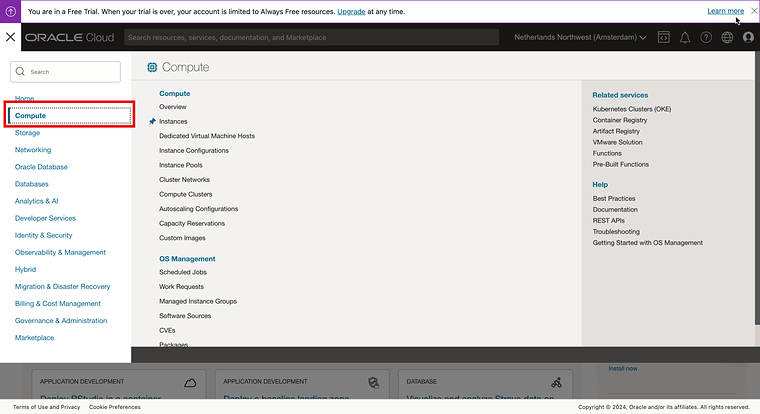
Click on “Compute” to see the Compute Related services and features.
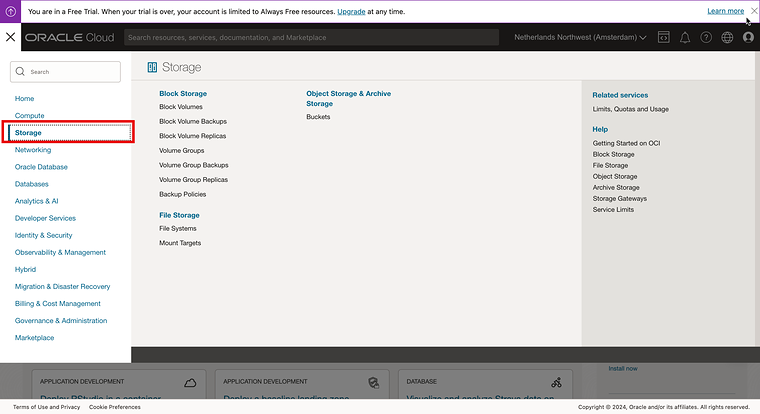
Click on “Storage” to see the Storage Related services and features.
Click on “Networking” to see the Networking Related services and features.
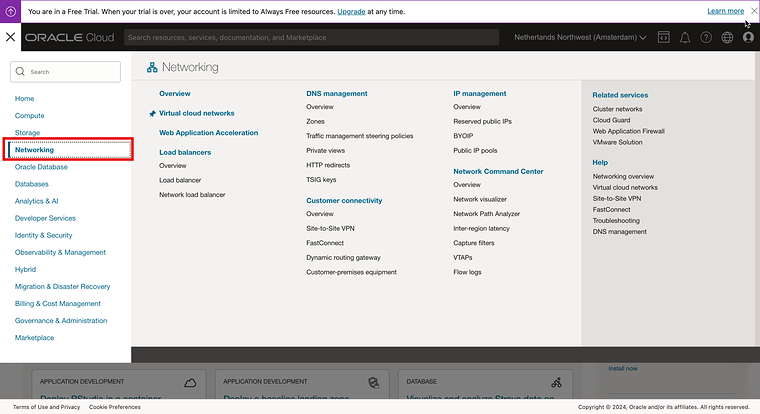
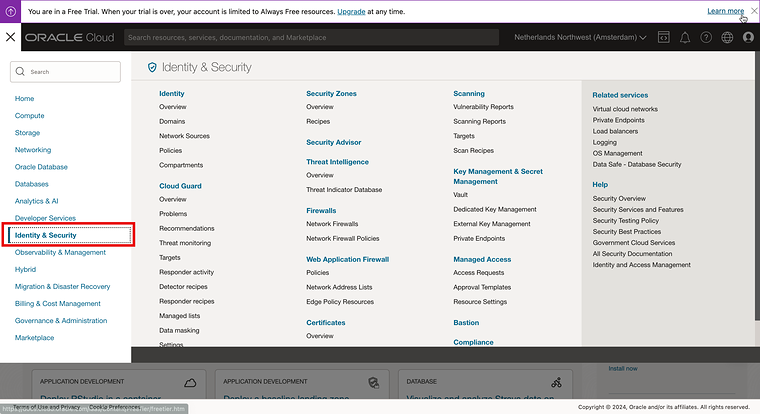
Click on “Identity & Security” to see the Identity & Security Related services and features.
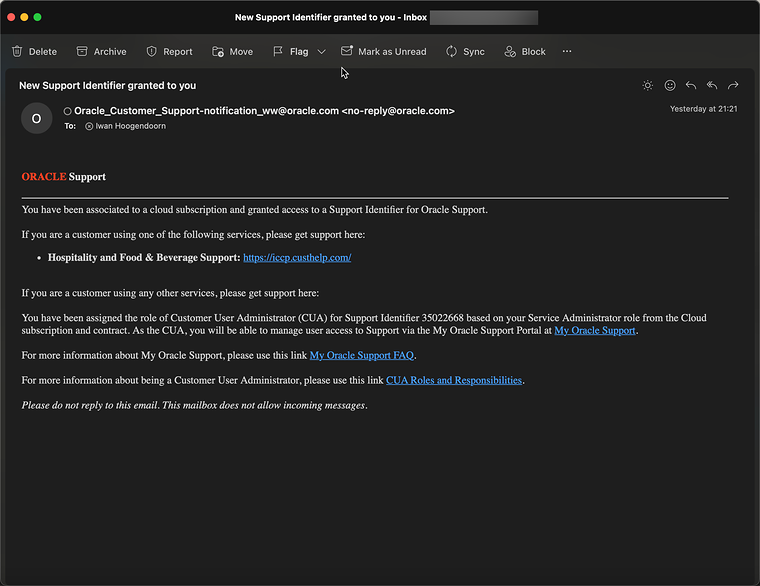
After your Oracle Cloud environment is provisioned and you have logged in you will get the following email so you can use Oracle Support in case you need this
Conclusion
In this article, I have shown you the steps that you need to take to start using (or testing) Oracle Cloud. You will need it to follow along with my next OCI-related articles.
Next steps
Originally published on the old wiki at /index.php/Getting_started_with_the_OCI_and_the_OCI_Console_using_your_free_account.